

THE near DEATH AND RE BIRTH
OF A
1979 HUNTER 37 CHERUBINI CUTTER
HUNTER 37 CUTTER
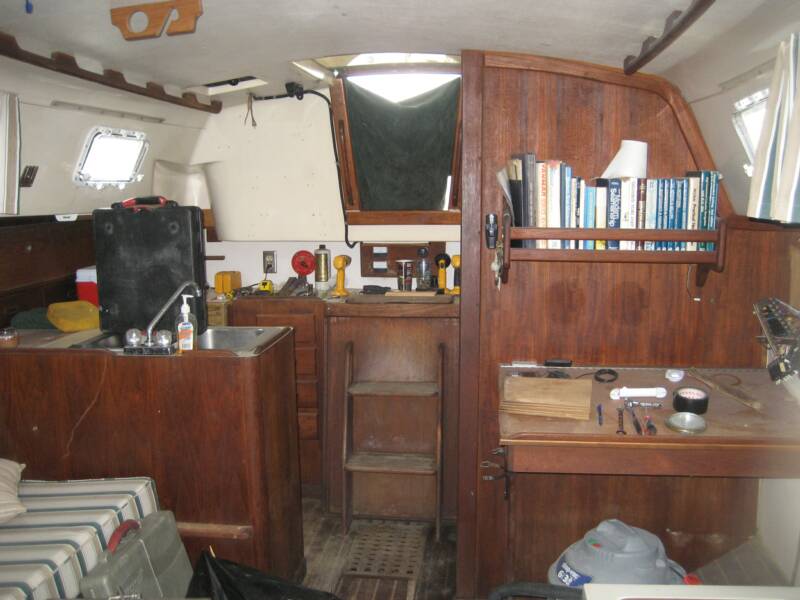
The Main Cabin


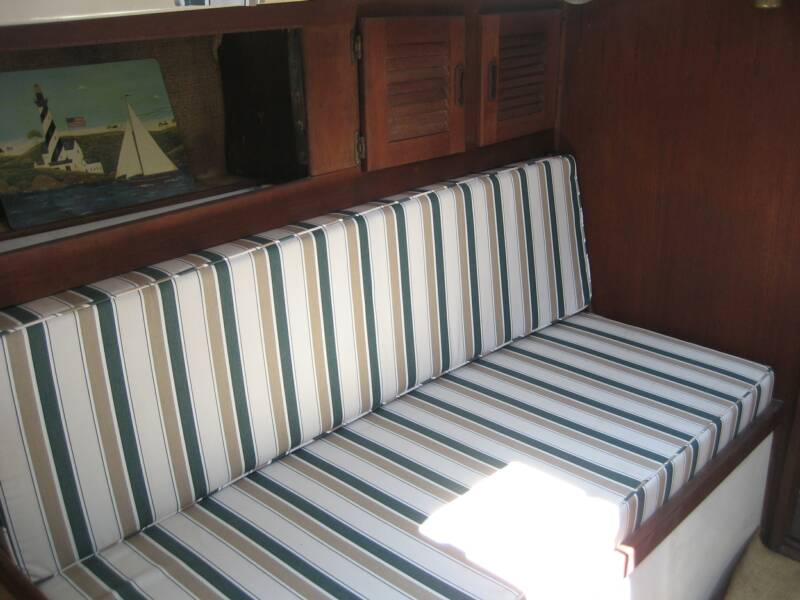


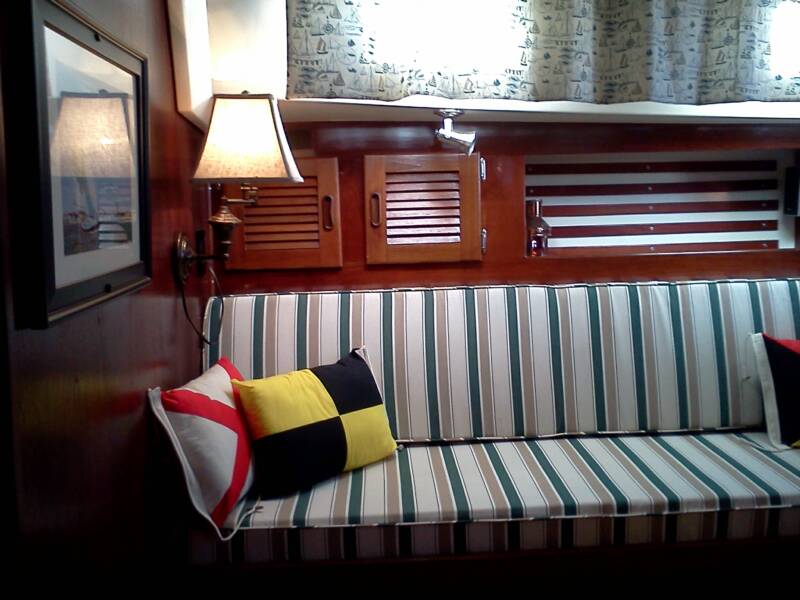
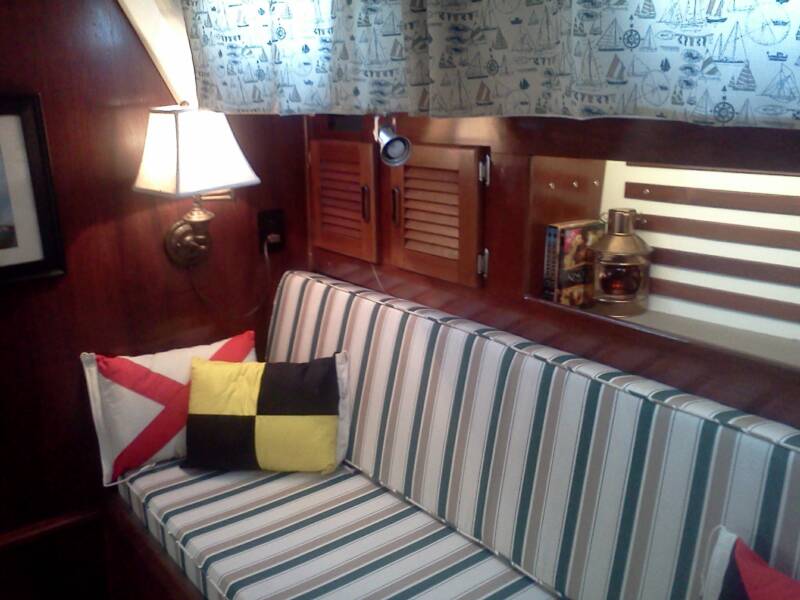

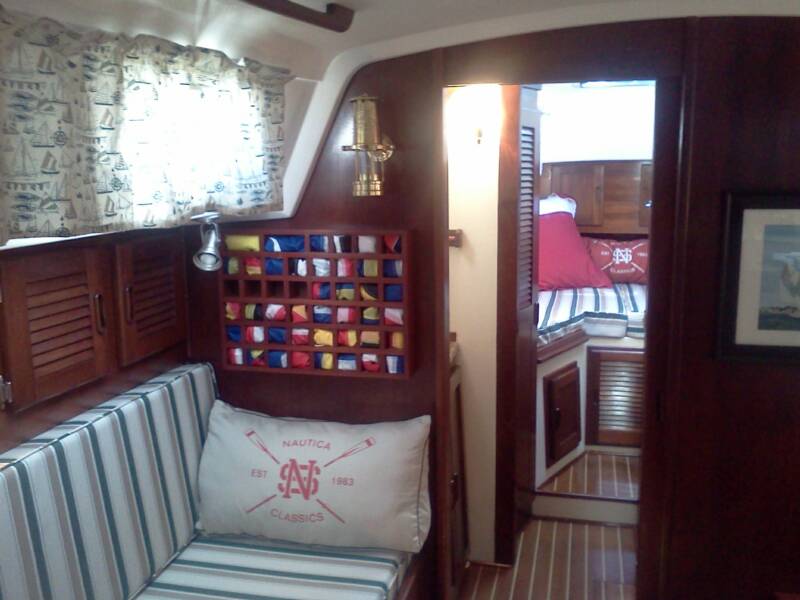


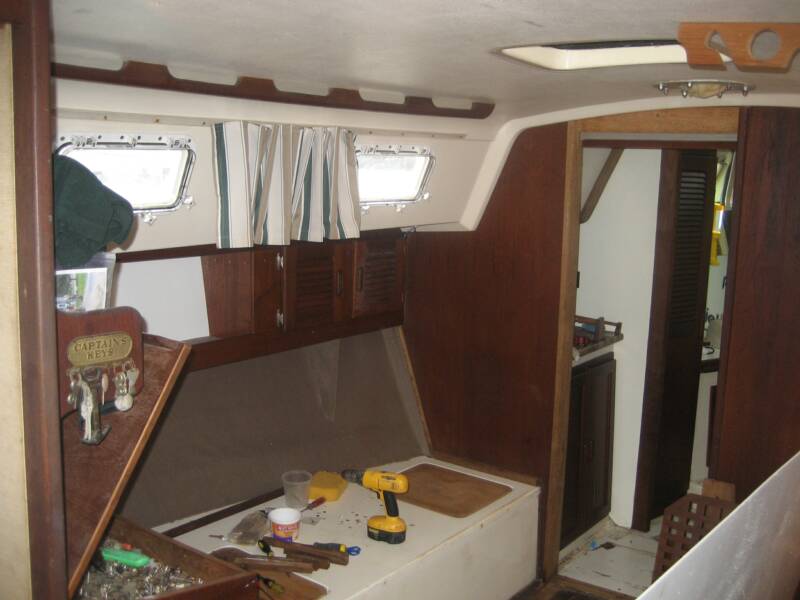
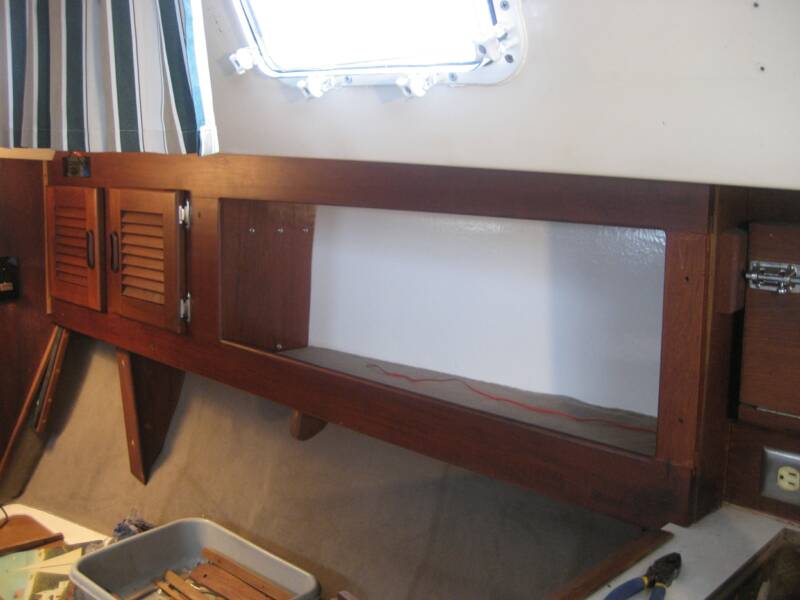


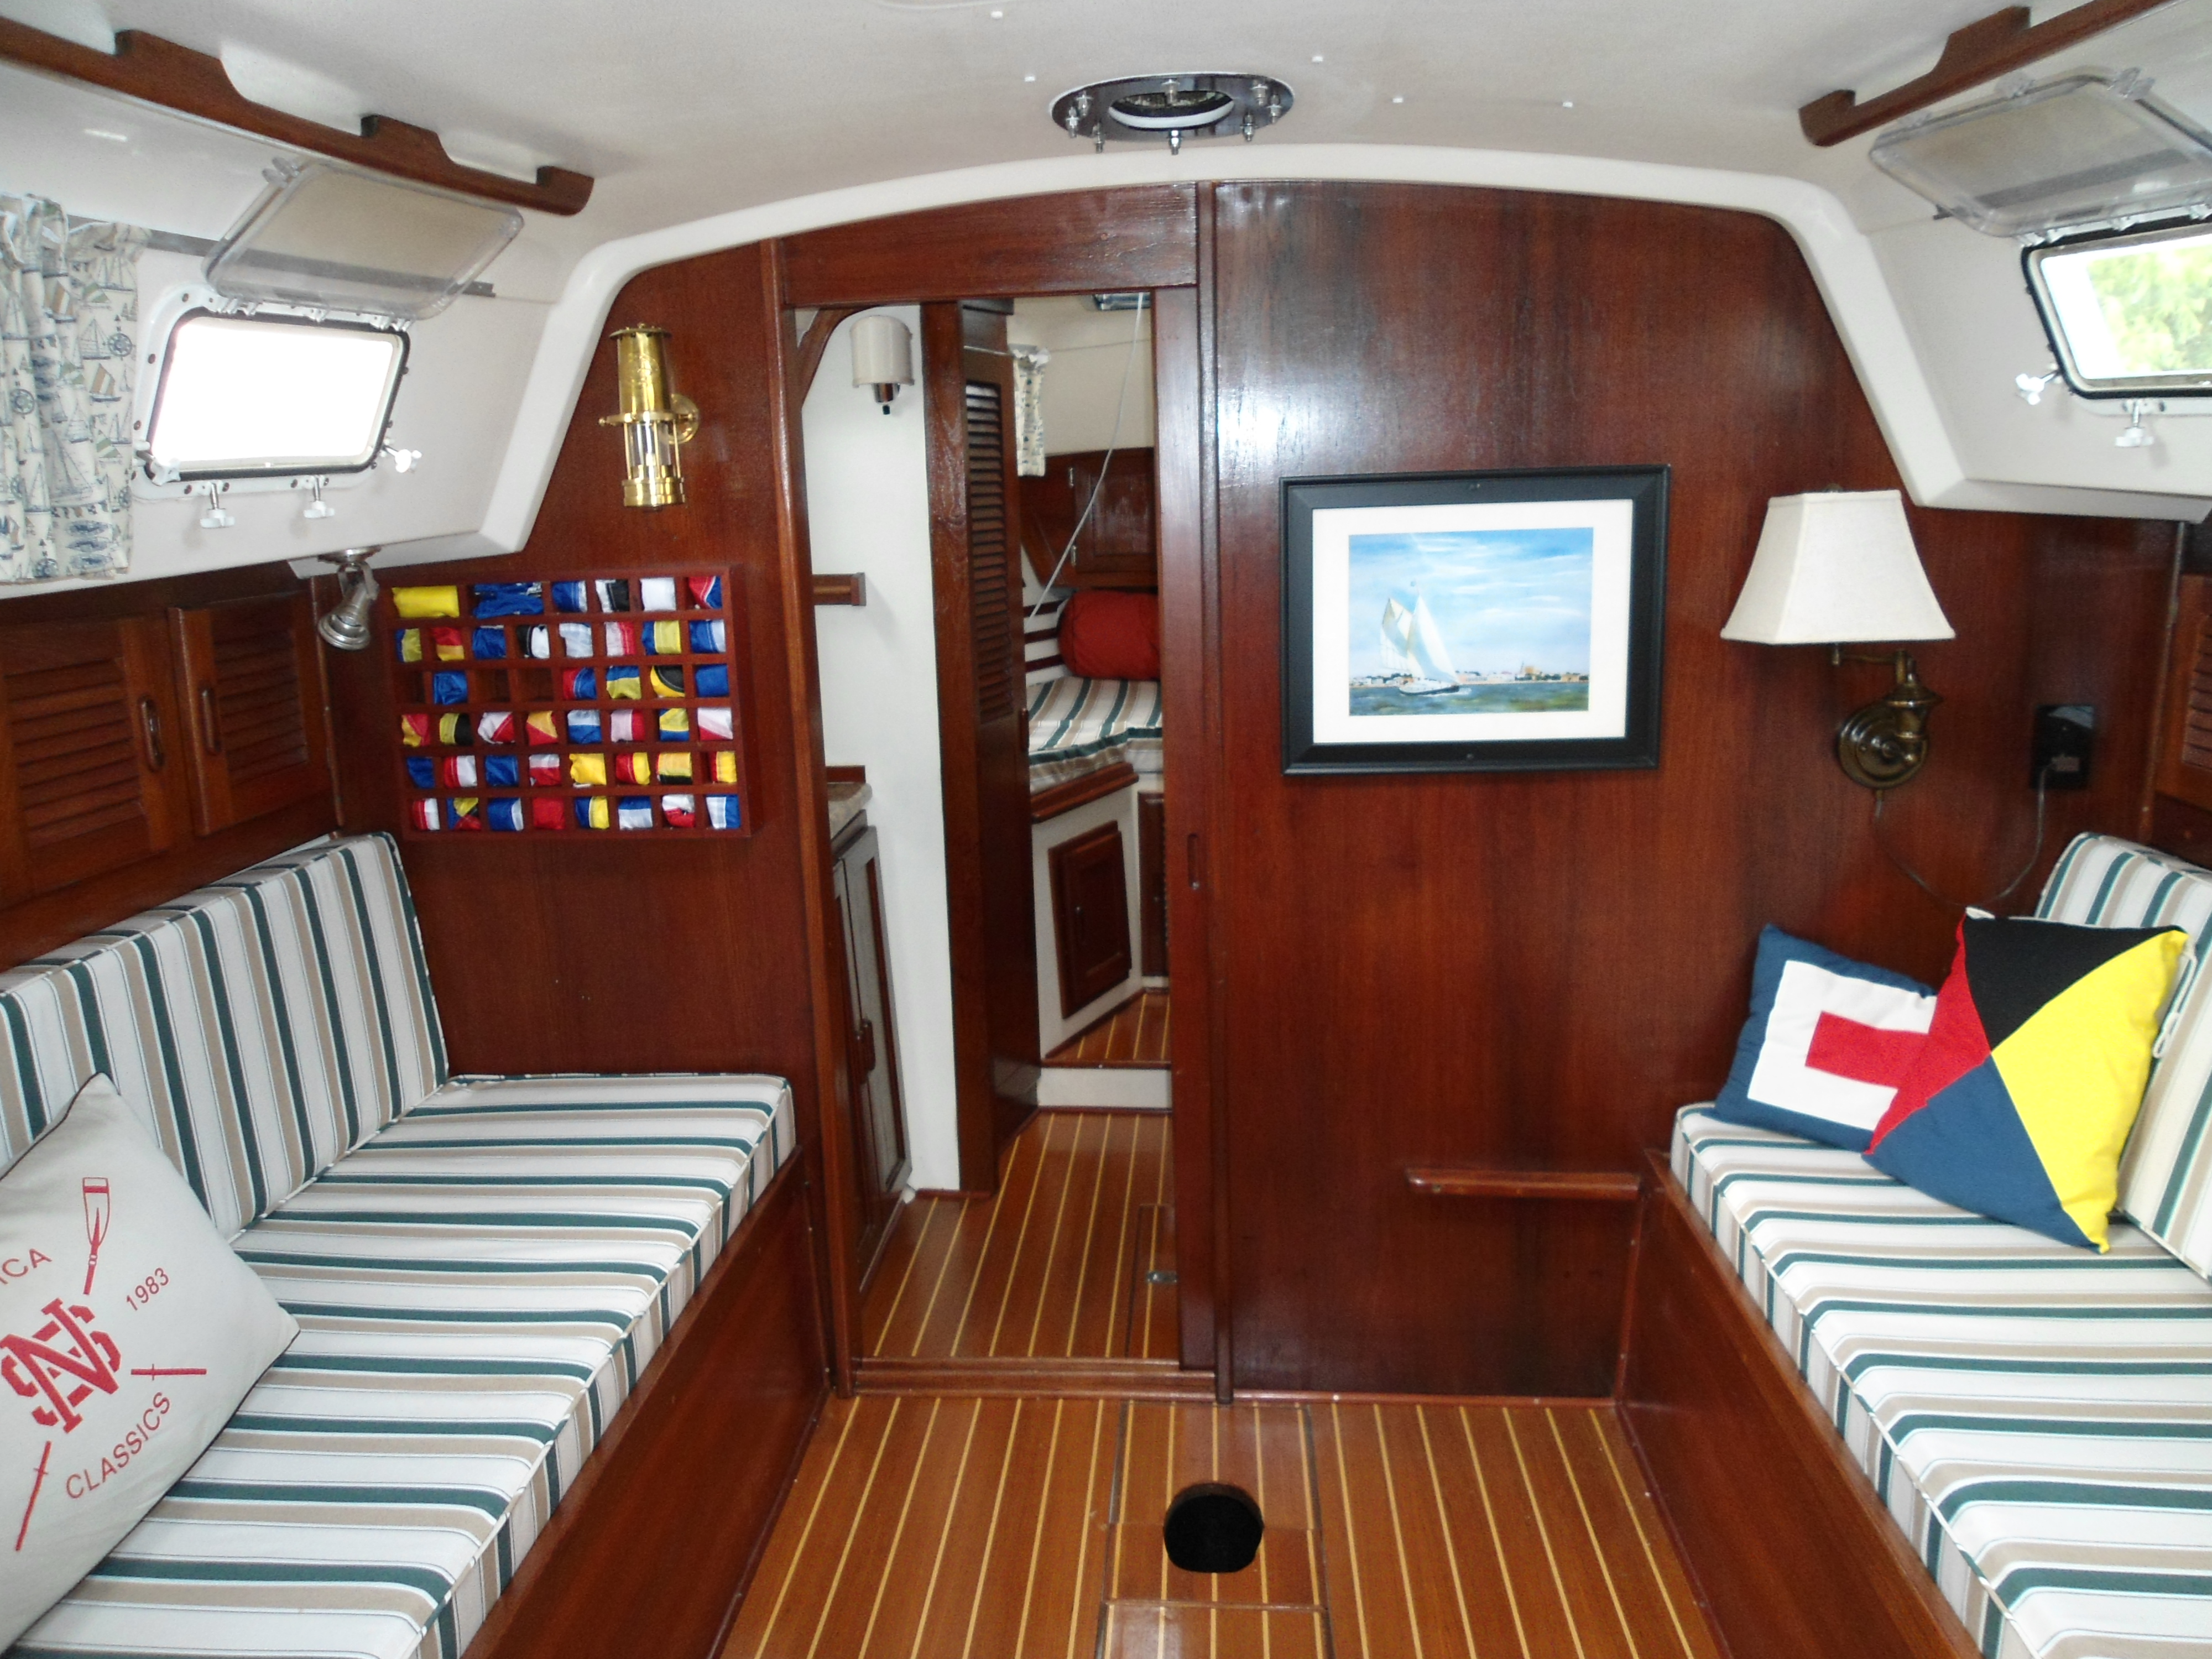
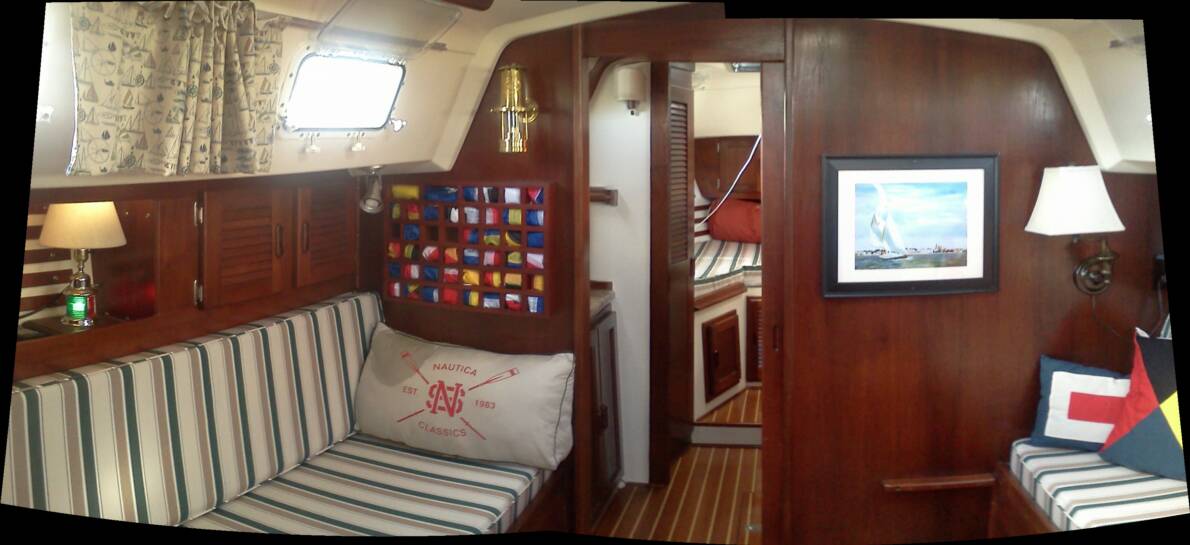
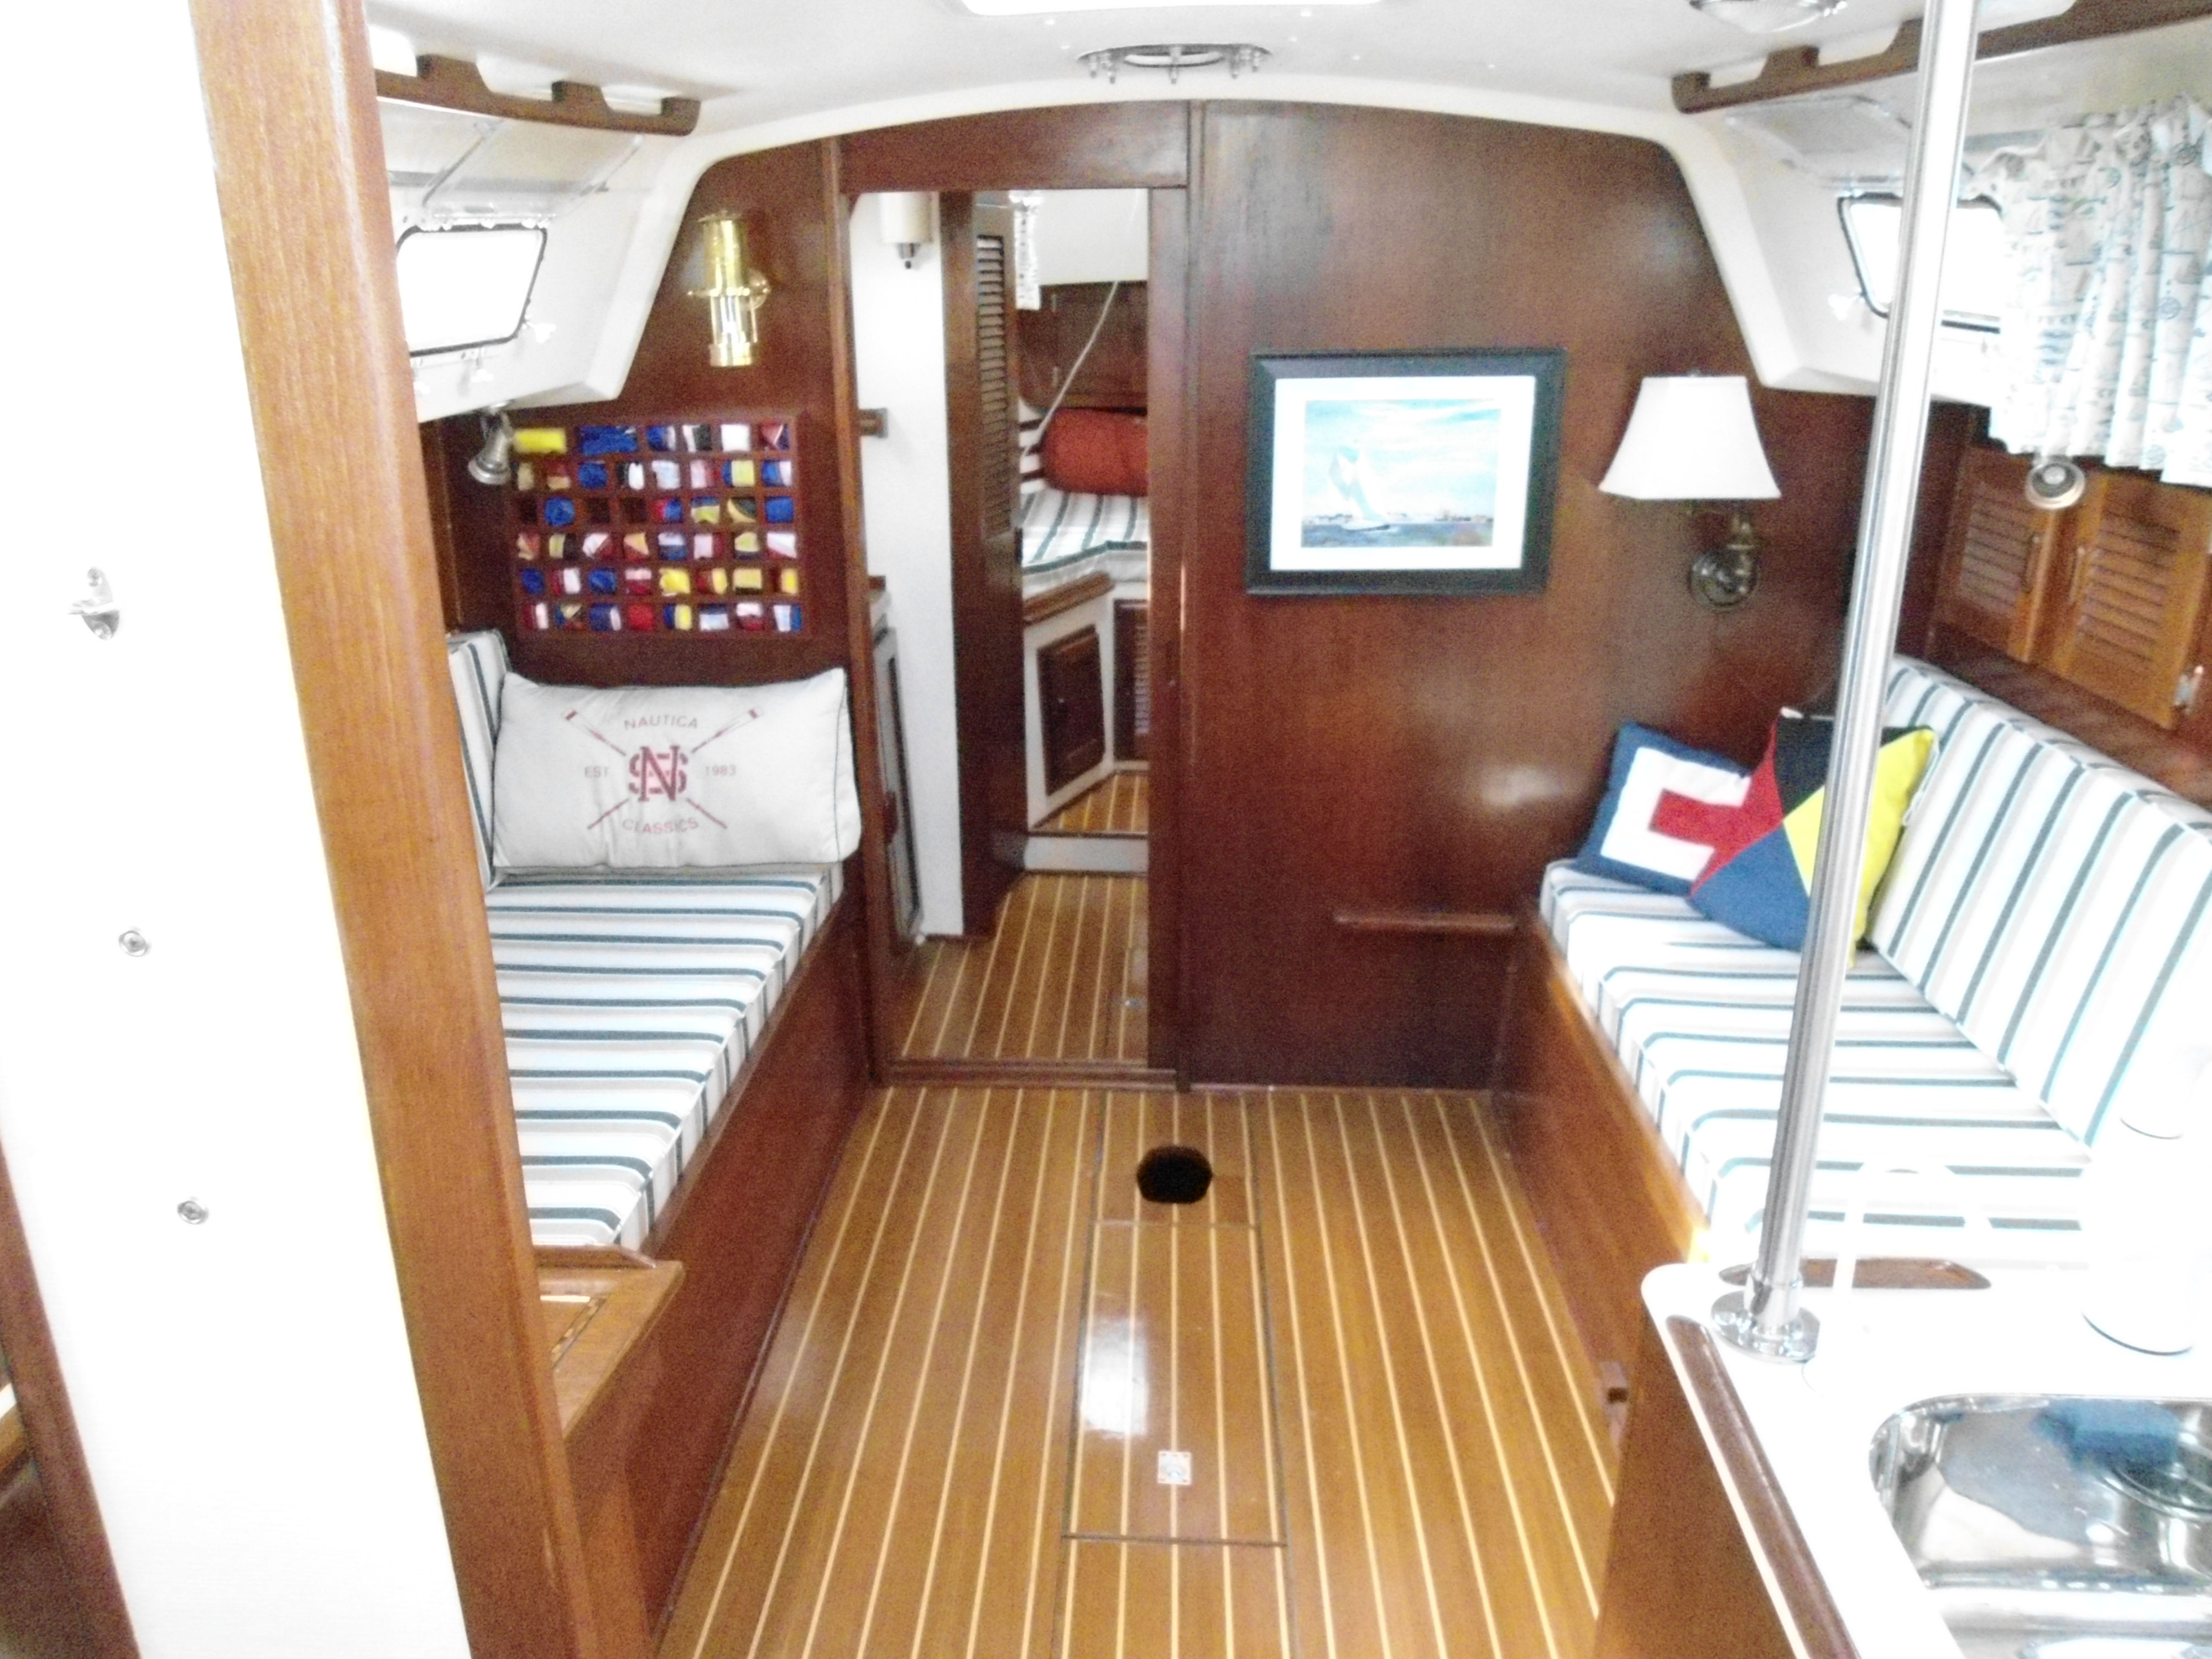
This is what the main cabin looks like now. It was stripped to the bare hull. All bulkheads were checked and I removed all the chainplates and inspected them. They were rebeded with polysulfate caulk and secured properly. Torqued all the bolts to the same number. The interior of the small cabinets were painted white and the bottom shelf was recovered with new white formica. All solid teak was stripped as it had 30 years of sticky teak oil. I used an Olympic fence stripper as it was relatively cheap at 18.00 per gallon. It is thick and wont run and leak. You can see the teak oil wash right out of the wood in a dark stream. Once washed and dried, the teak looks like the day it was milled. WARNING!! Do not try to strip and veneered wood. The flat door panels in the sink area, head sink and sliding doors are built out of veneered plywood. The stripper will bubble the veneer and destroy you door. So be very careful what you strip. Only solid teak.
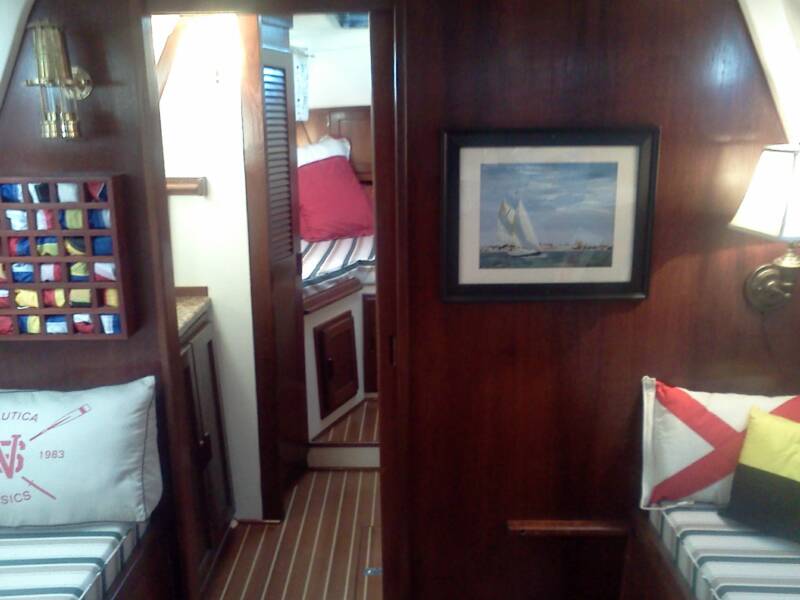
The WEEMS & Plath lamp works and is used while at anchor. I made a flag locker out of Mahogany to store all the flags. I also made pillows out of flags. I saw them in a magazine and they priced at 50.00 each. I found a pack of 2 flags for 8.00 and stuffed them with pillow material. I re sewed them on the sewing machine and presto.
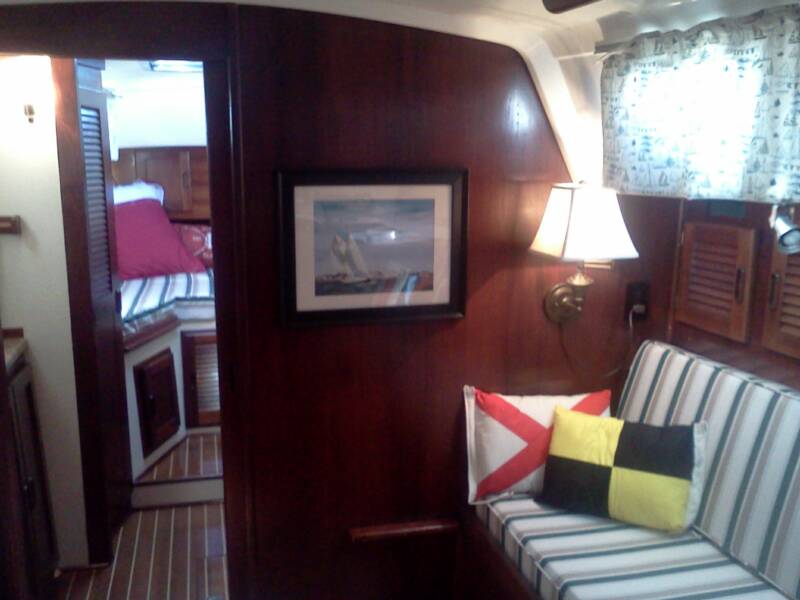
The watercolor is named. Broad reach at the Battery. It is a view of the Charleston skyline by a local painter. I had a larger version in my office and too large for the boat. I contacted the painter and he sold me a smaller reproduction that I framed and fitted to the bulkhead. Since this picture was taken, I have moved the picture to the right and installed a FORCE 10 gas heater. Works like a charm. I will post updated pictures in the LP system page.
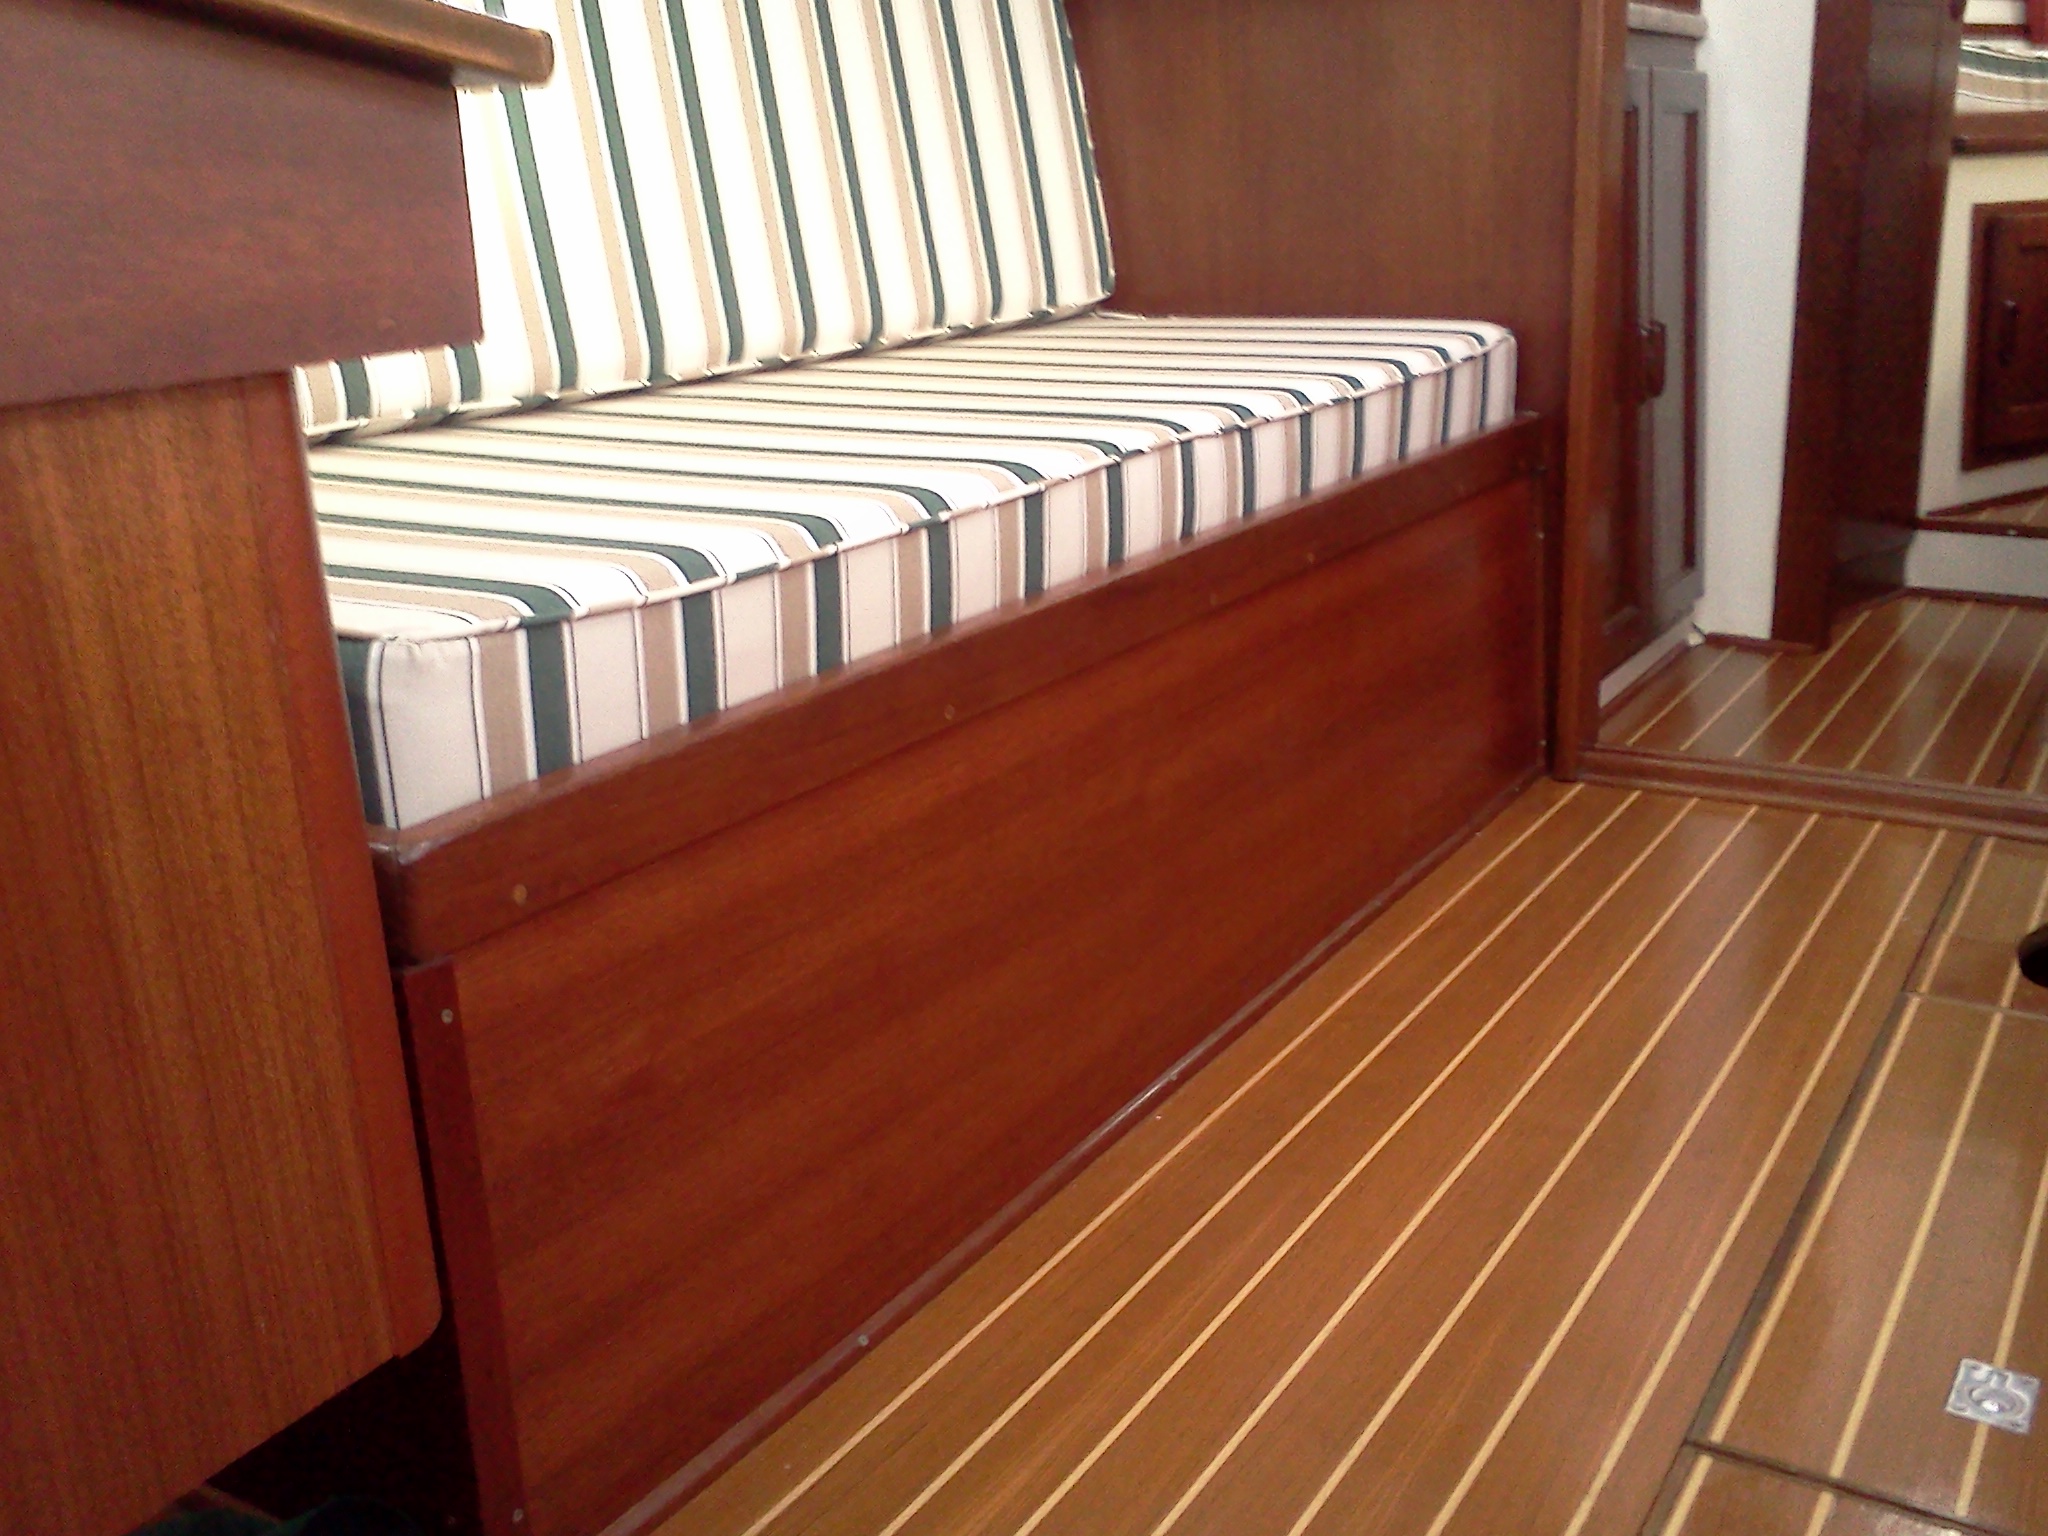
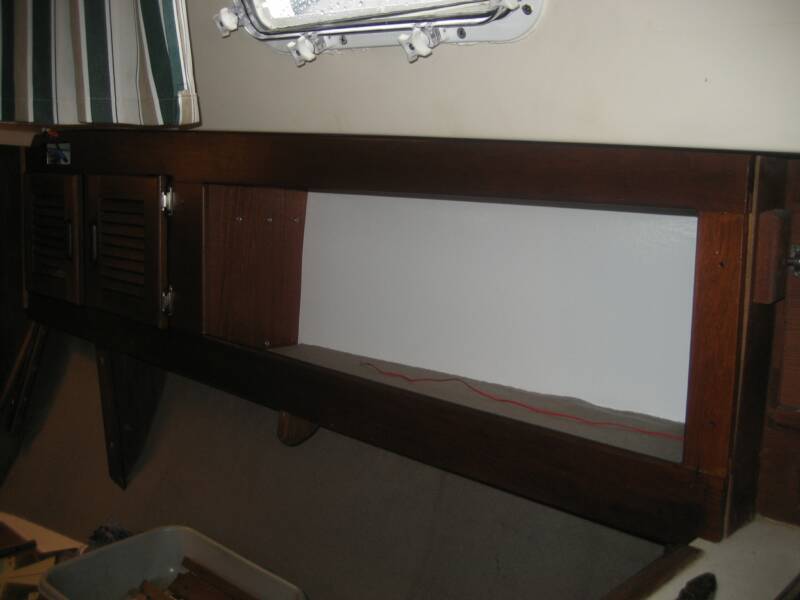
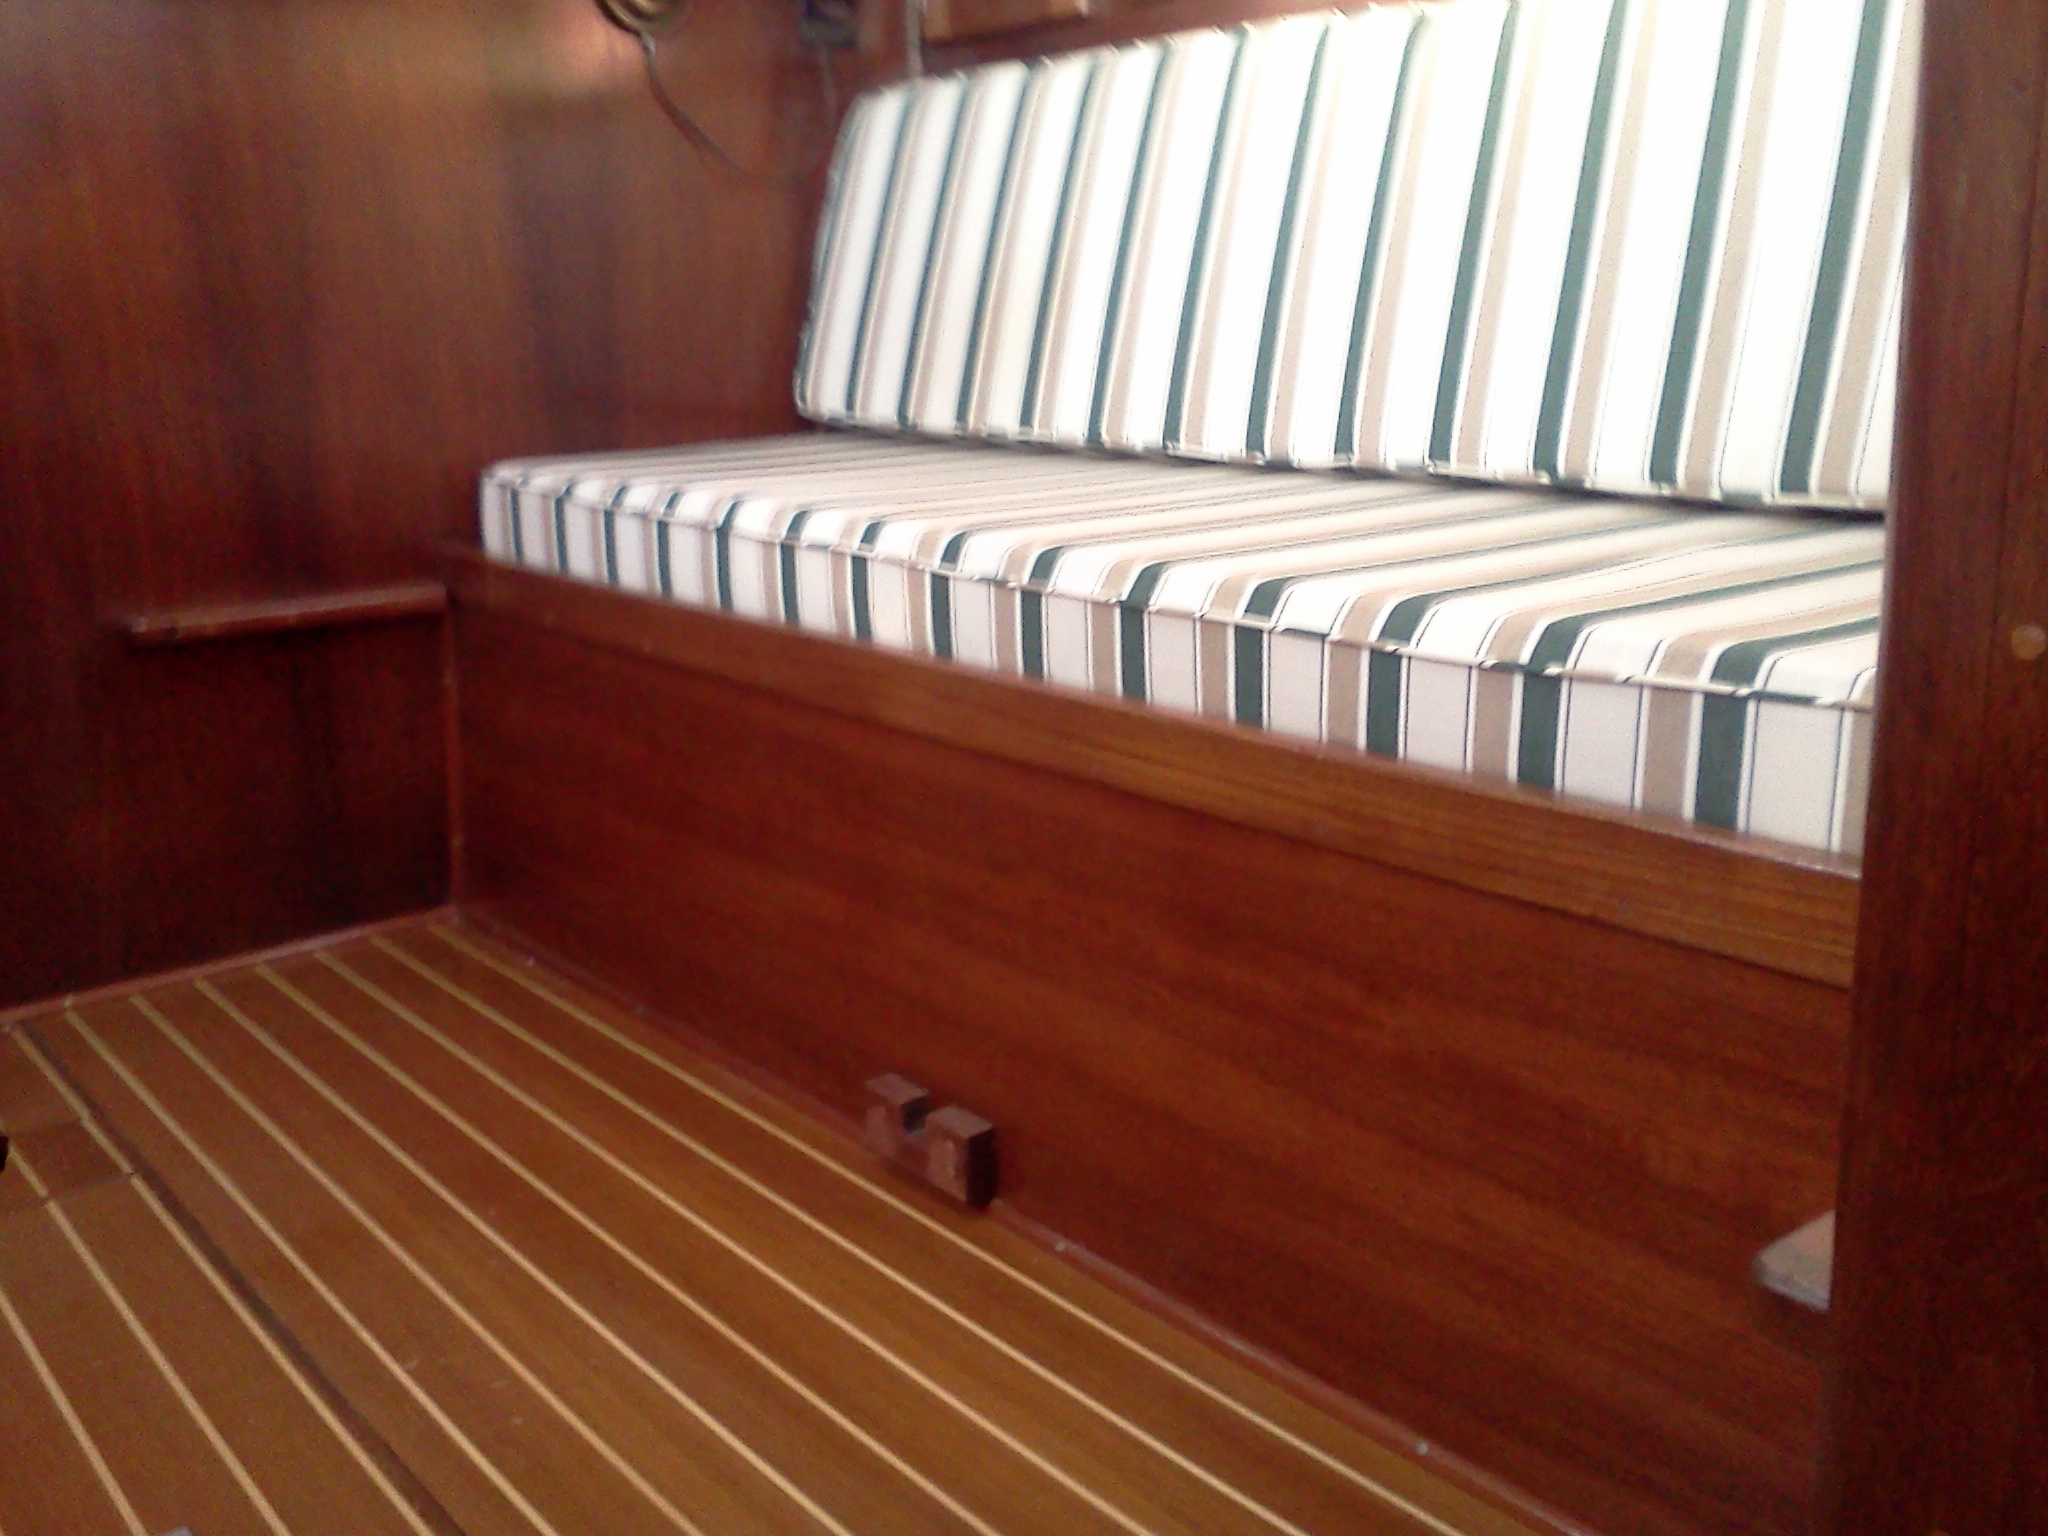
I did not like the white fiberglass under the seats so I cut 2 teak panels out of 1/4 teak plywood. Made a rabbet on the board that holds the cushion in place and trimmed it with teak quarter round. I found that a combination of two stains gave me the same color that the old bulkheads. Looks like they have been there all along. I feel it dresses up the cabin.
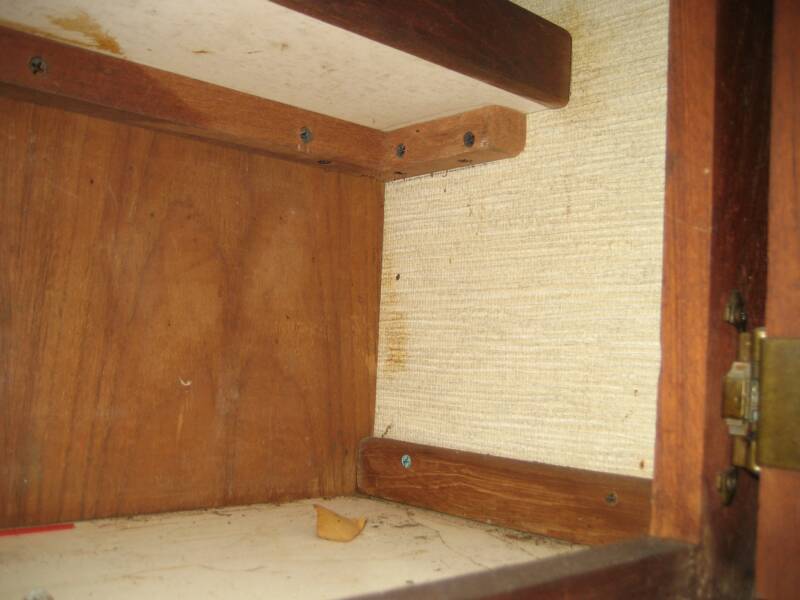
After removing the panels, you can see the state of all the plywood aboard.
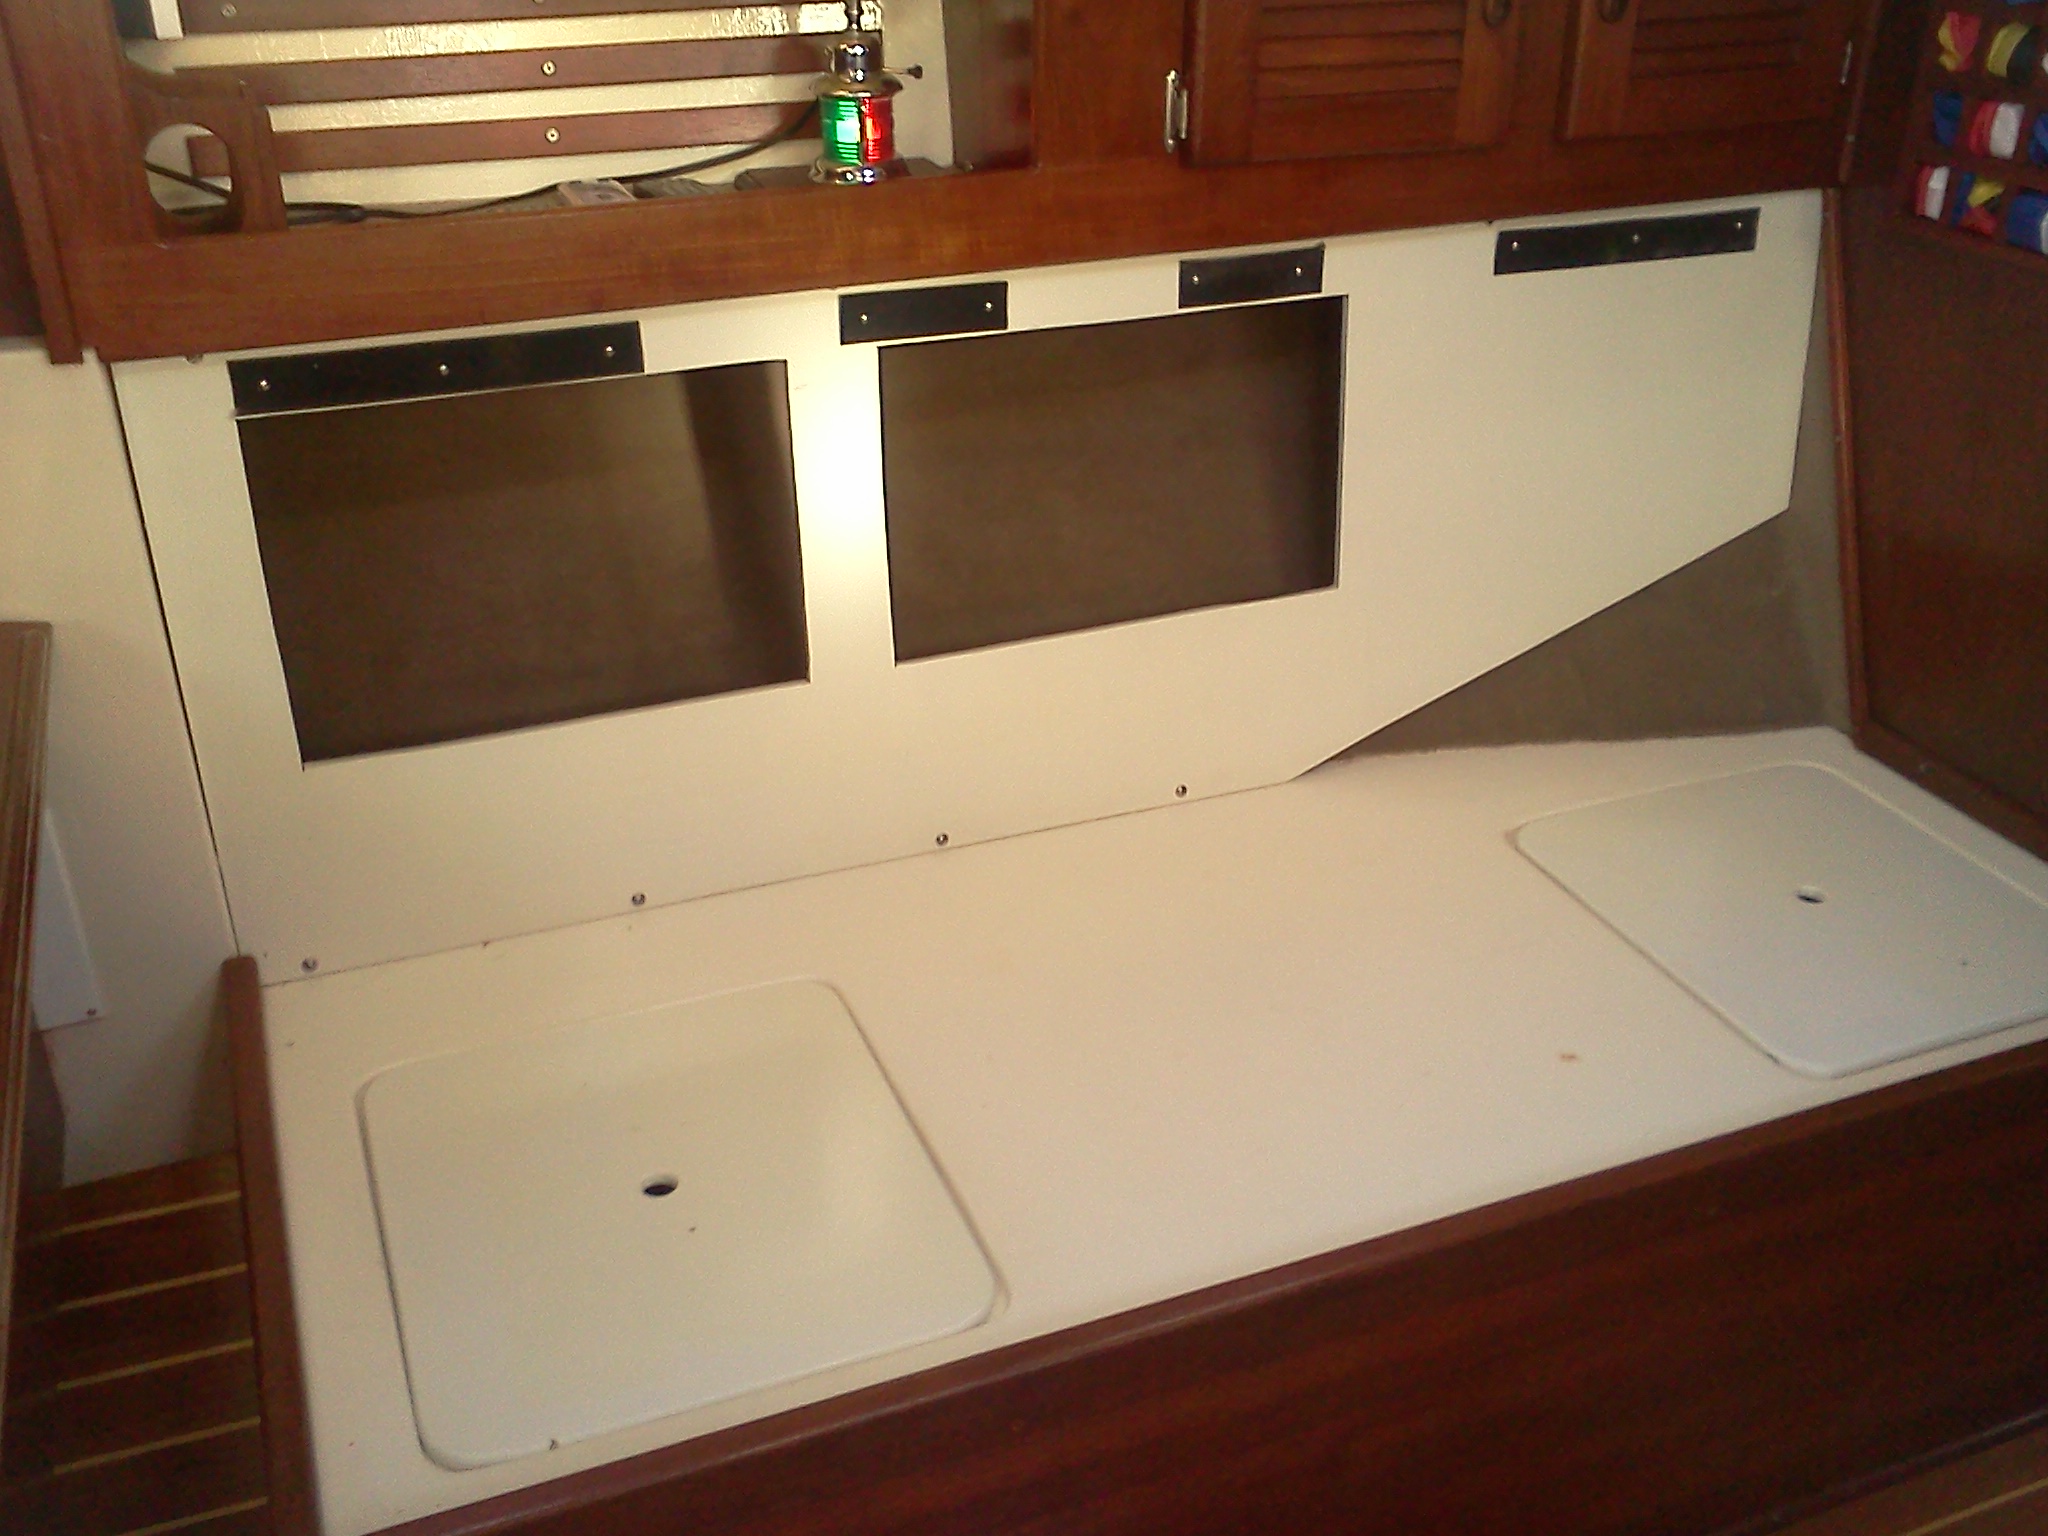
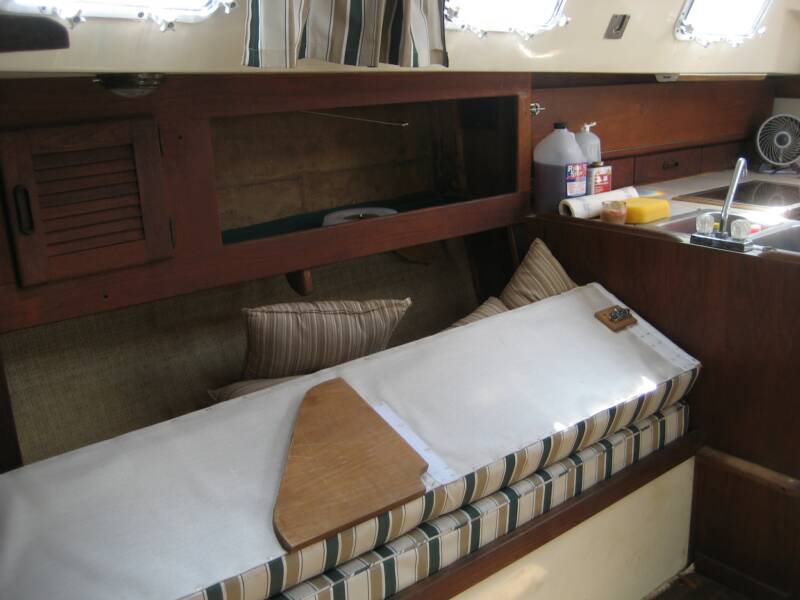
Carpet was installed and new plywood panel installed. Heavy duty Velcro is screwed to panel in order to keep the cushion in place. Access panels to water tank storage area also received 3 to 4 coats of white oil paint.
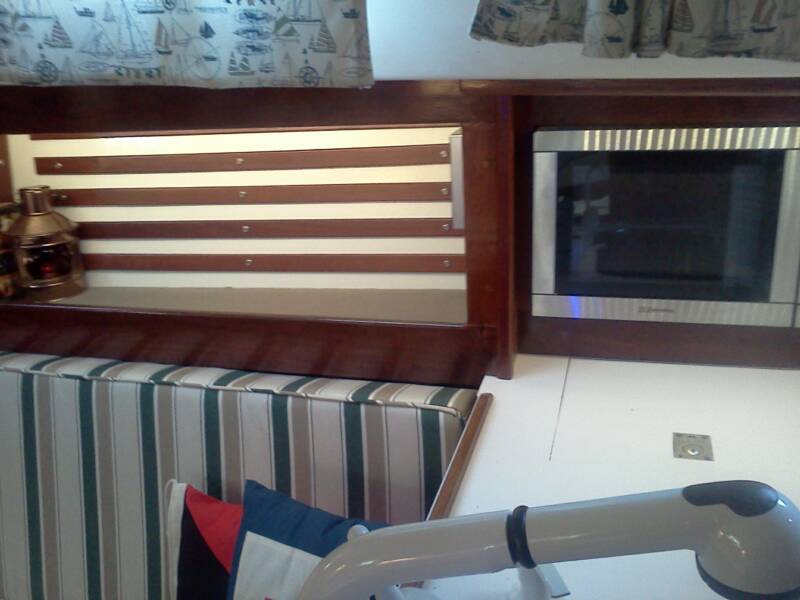
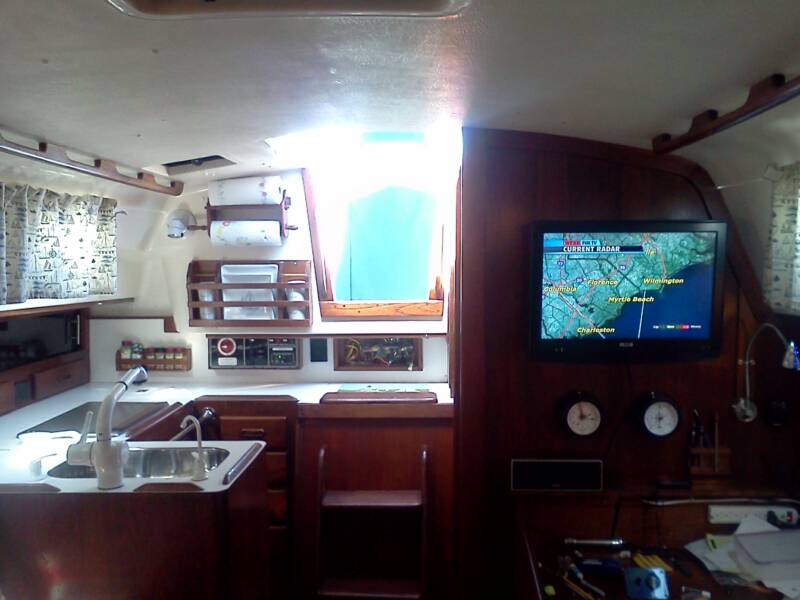
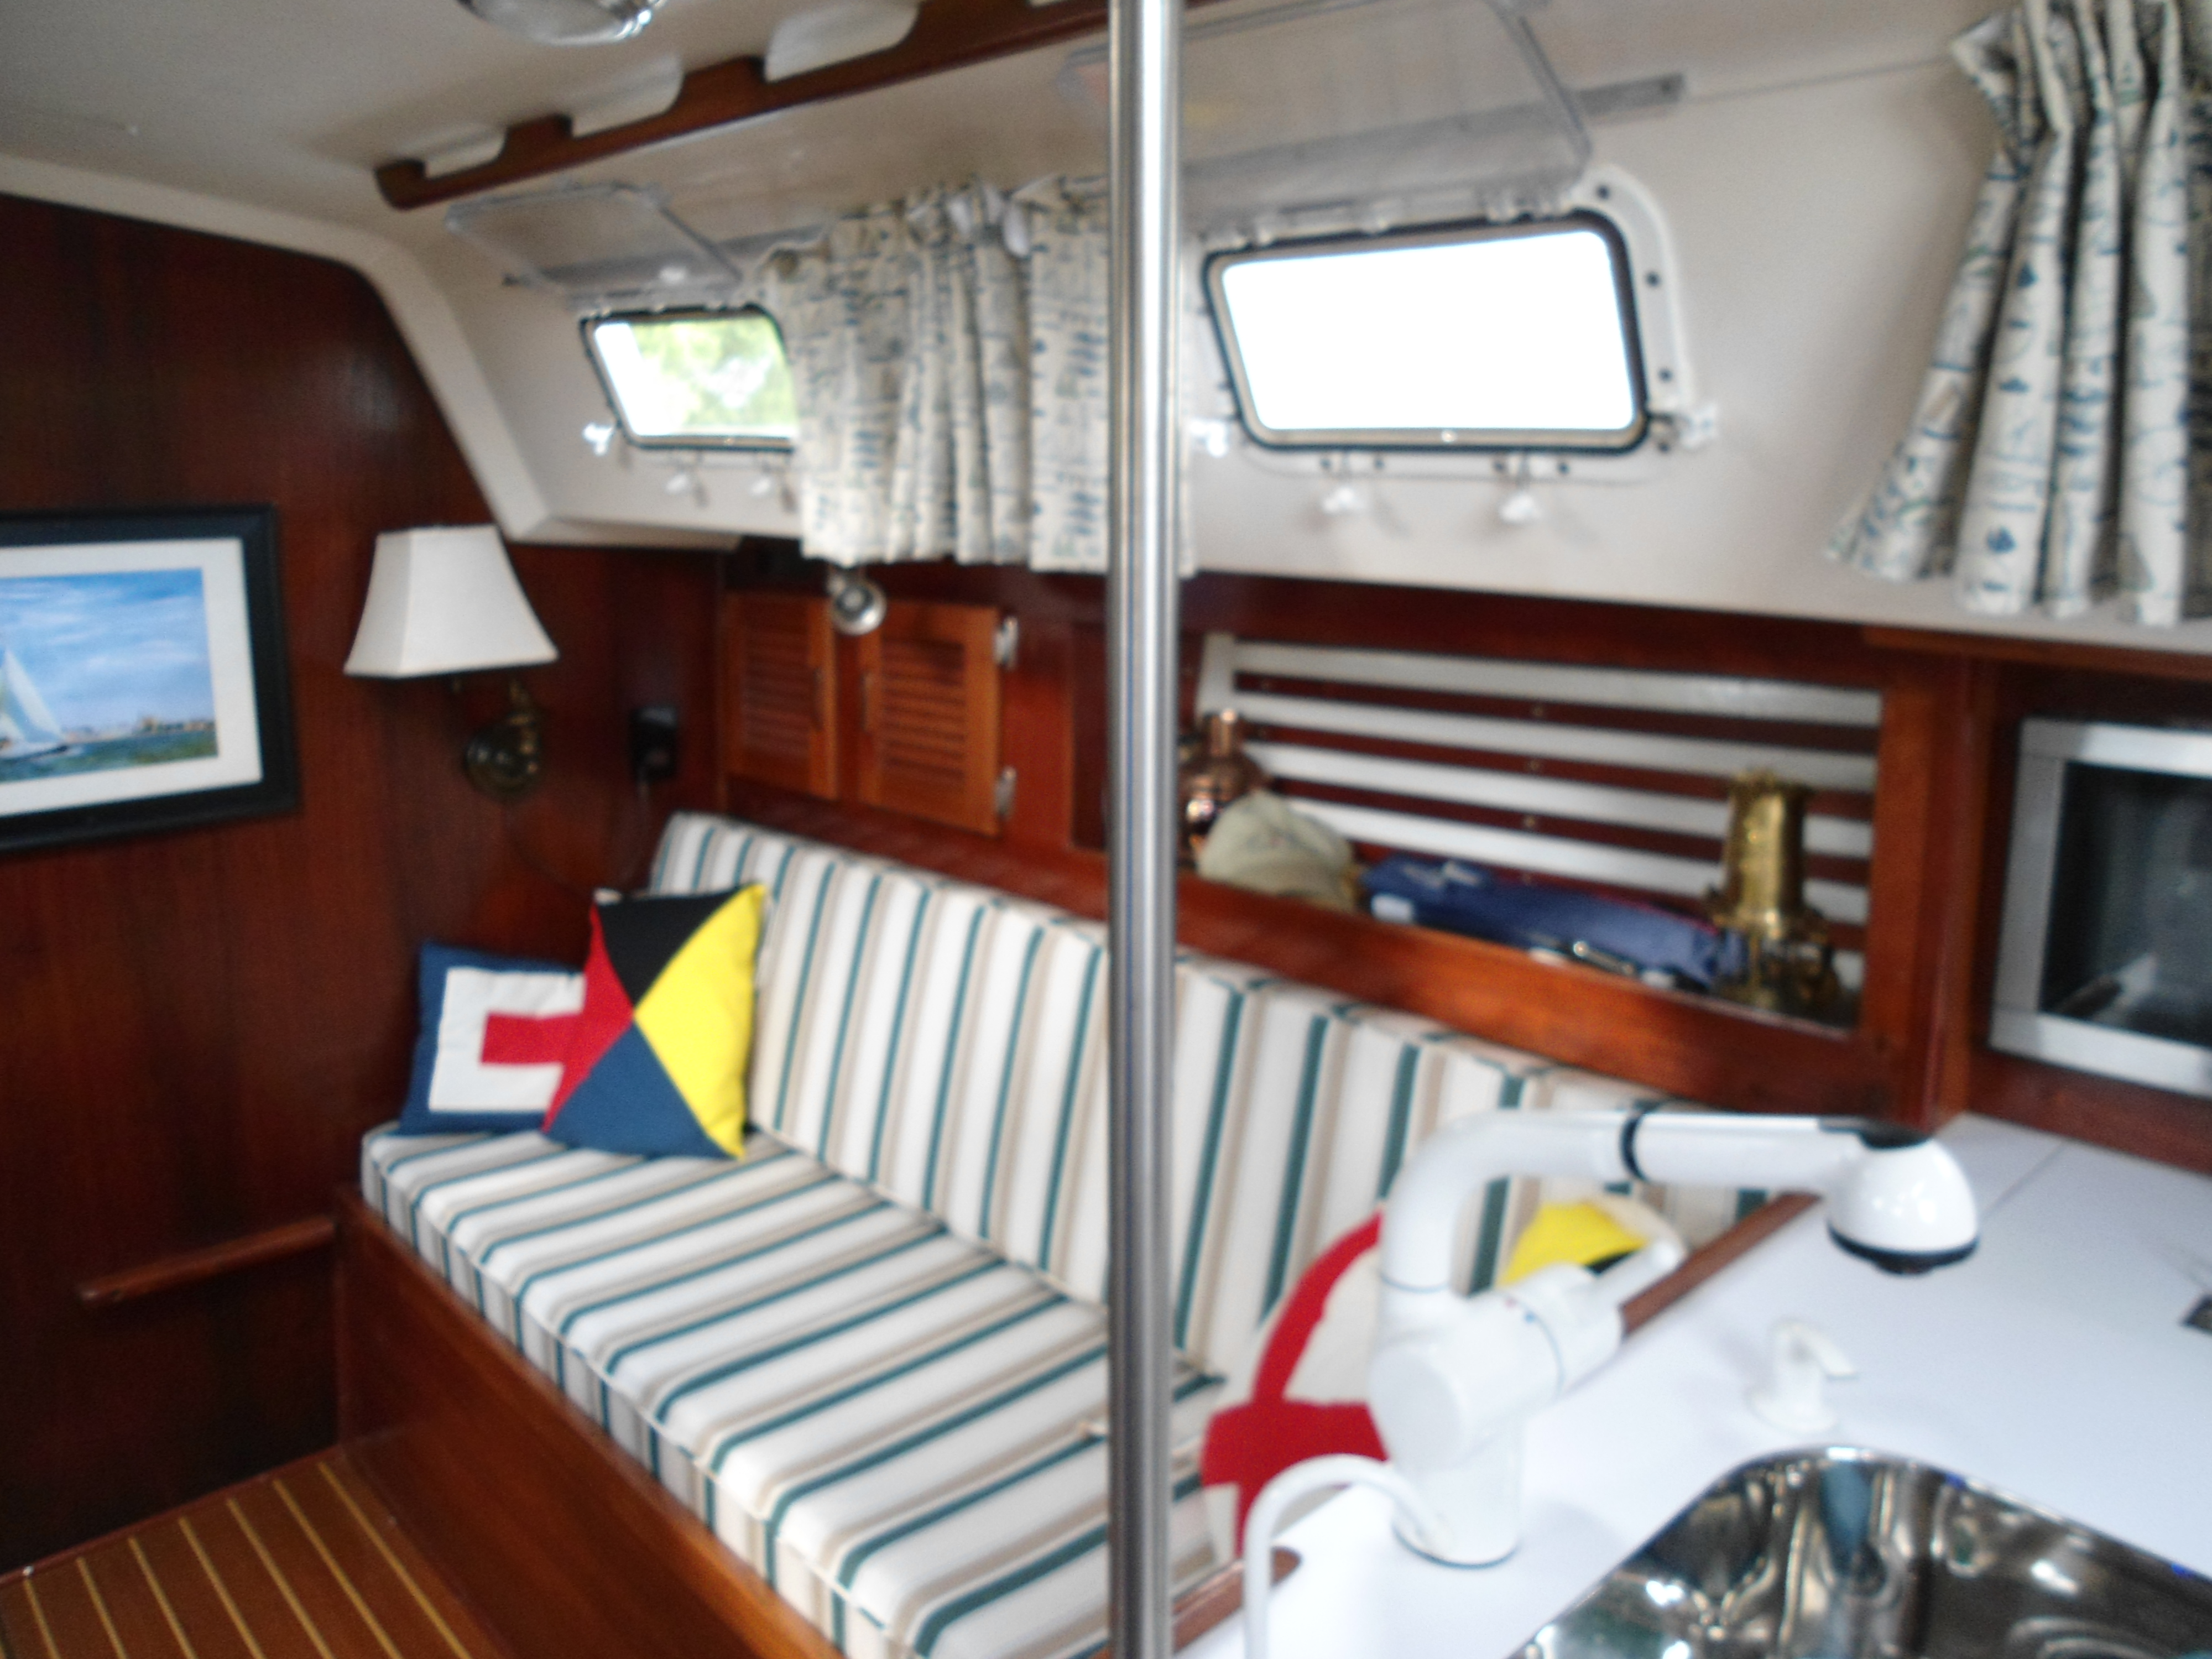
I installed a pipe at the corner of the galley counter as a grab handle. It is not screwed in. Just wanted to see what it would look like. I have a feeling that I will need it to hang on while underway. My catlike reflexes are waning.
I replaced all the lenses on the opening ports with new ones. The frames are still good and all the dogs work fine. Just the lenses were cloudy and beyond cleaning.

Before and after
(click on pic)

CABIN HEATER
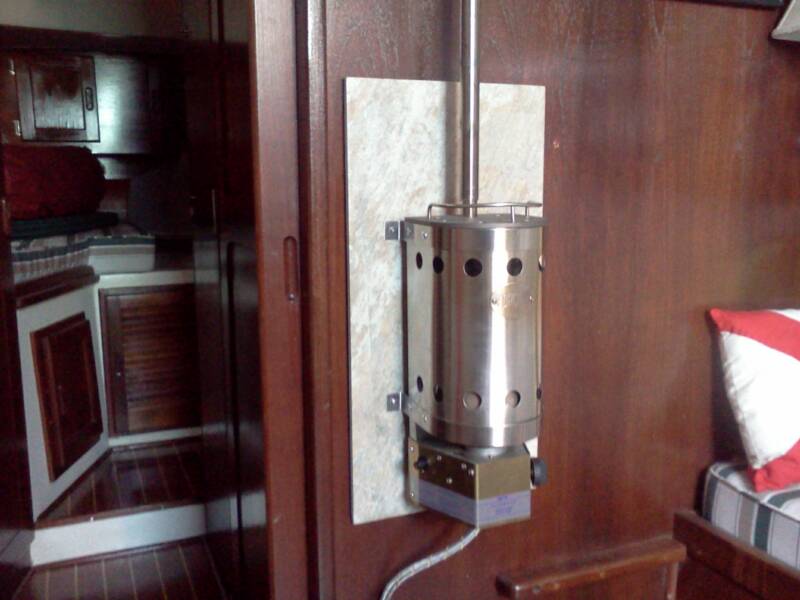
Just ran across a new Force 10 gas heater. This is the original unit with the bronze top cover and not as the new ones that have a steel cover that rusts. The brass straps that are used to install it to the wall were cracked but the unit was new in the box. I took it apart and made new straps out of stainless. I used a 12x24 stone tile as heat shield, set about 1/2 from the bulkhead to allow for air flow. I felt stainless looked to stark as a heat shield and the stone has a nice green hue that works well with the interior. The flue is 1" stainless pipe that goes into a Charlie Noble (chimney cap) mounted on the deck.


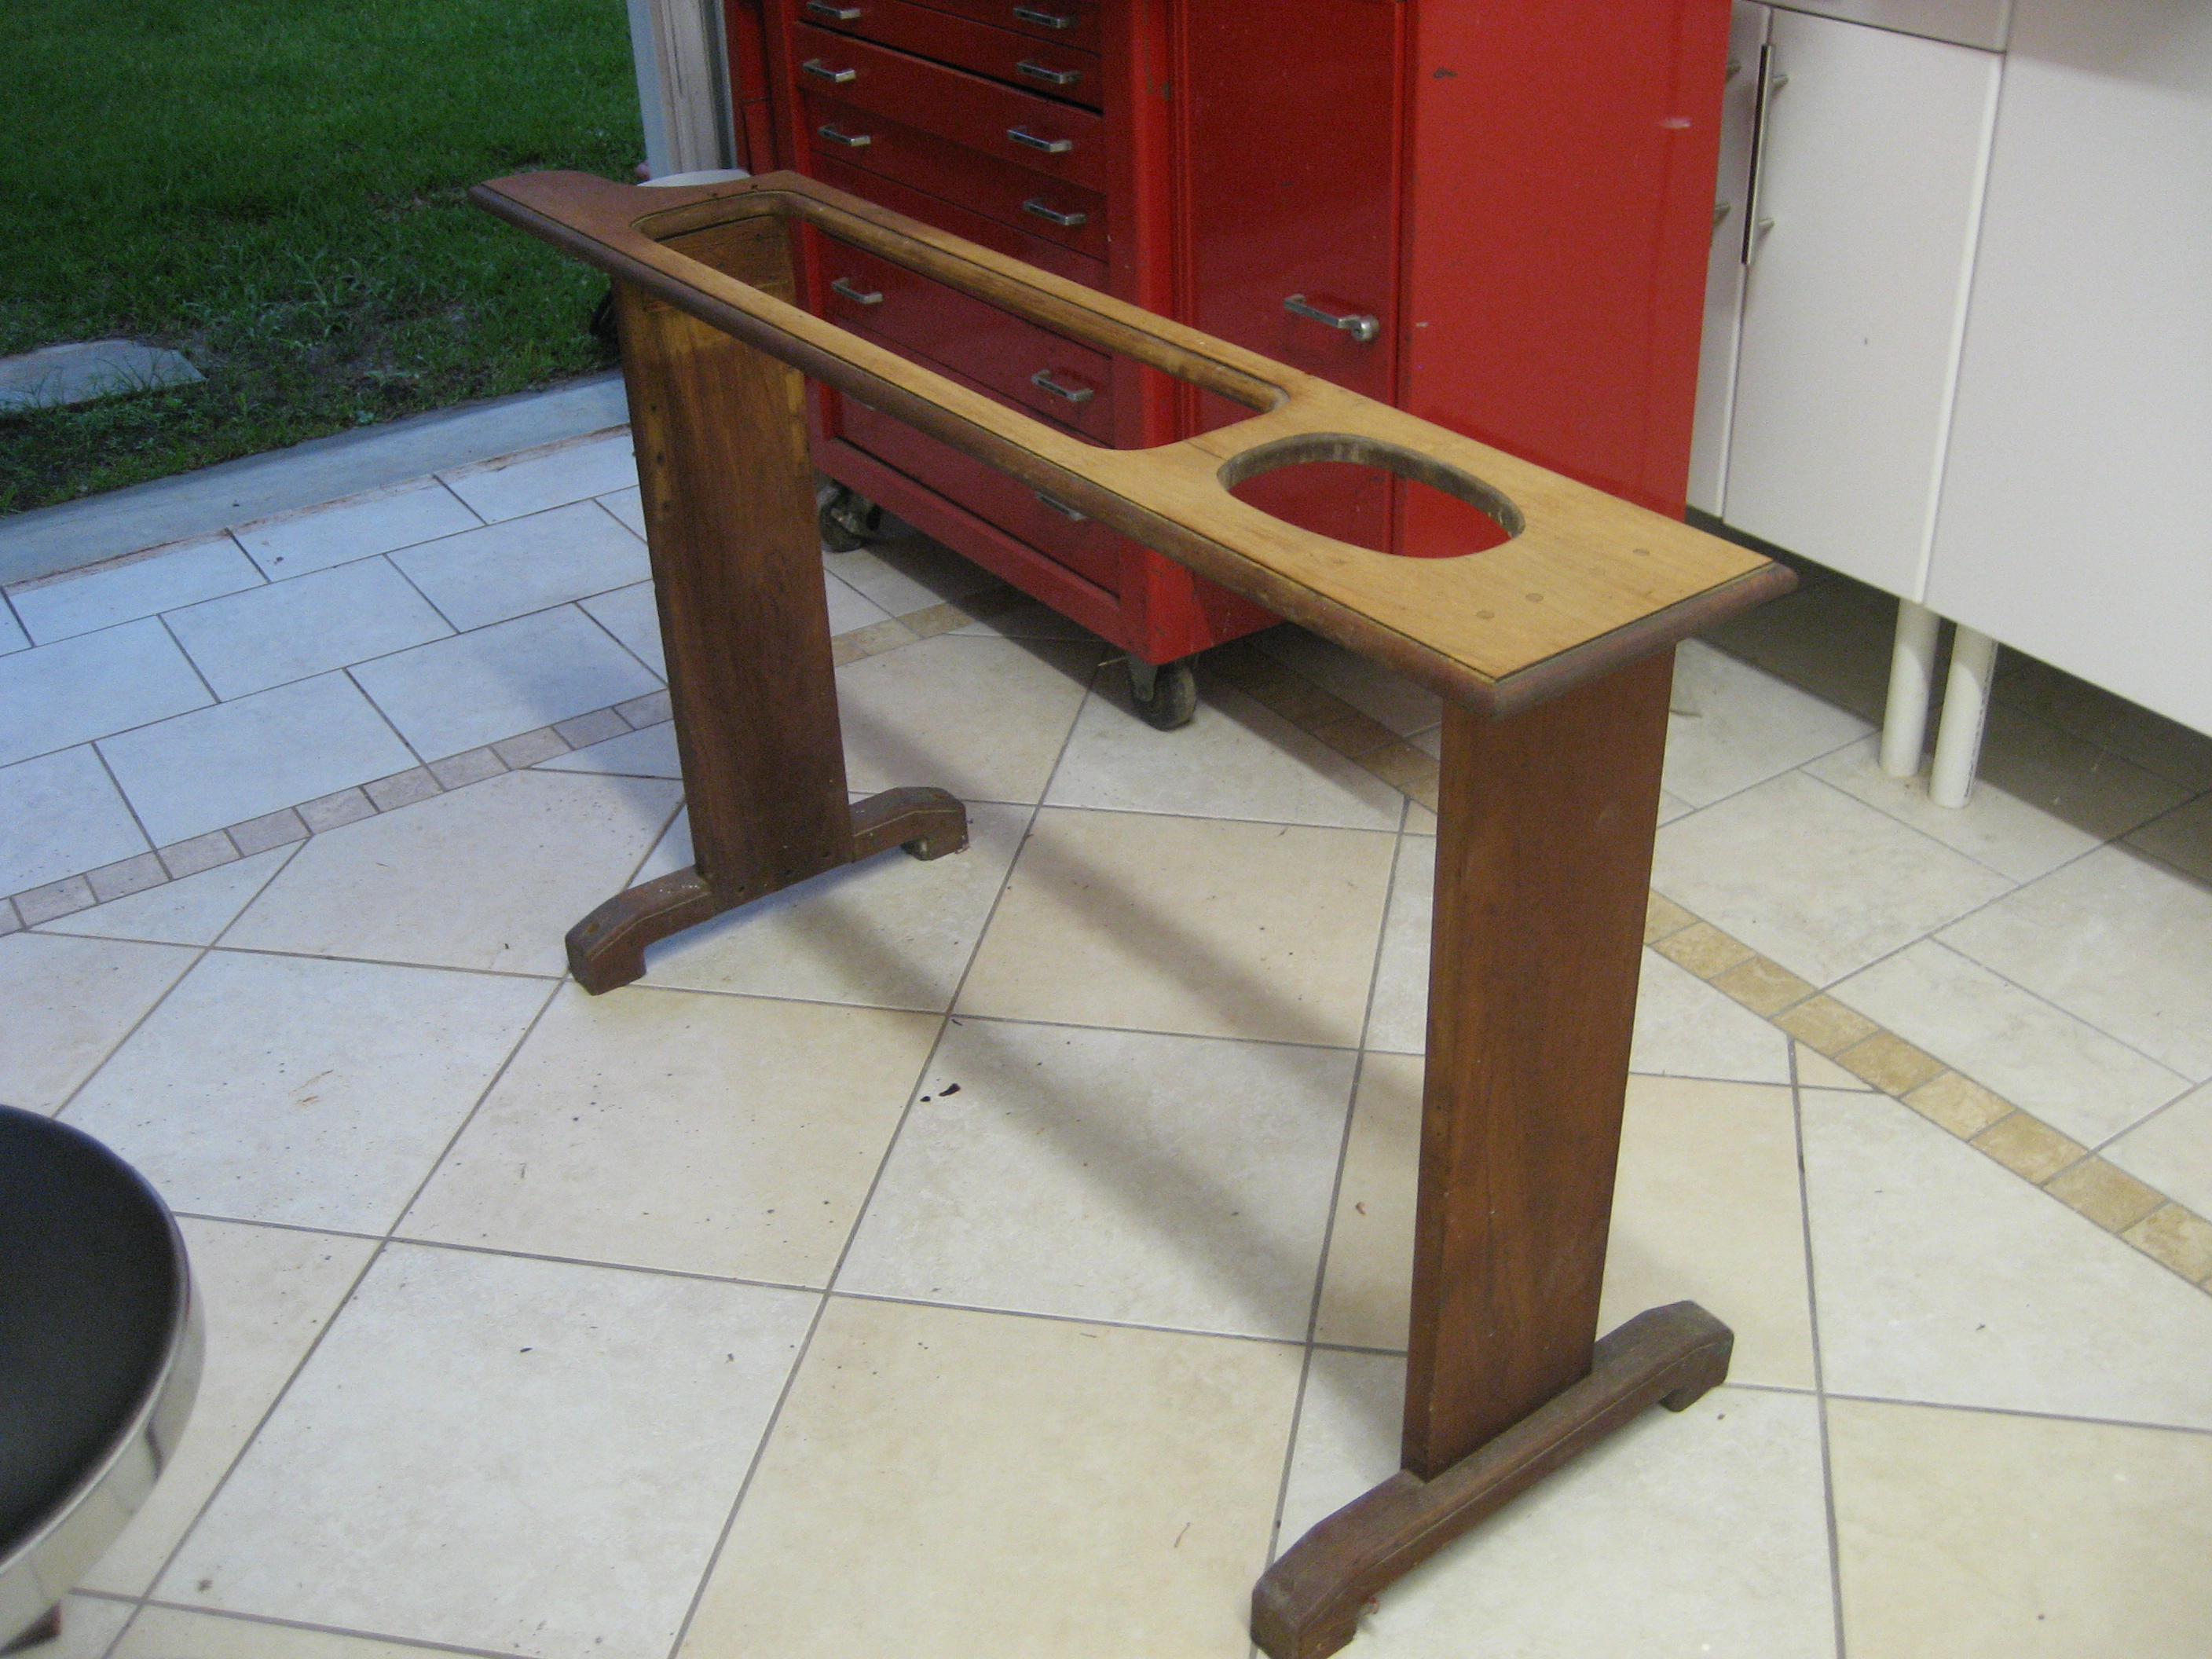
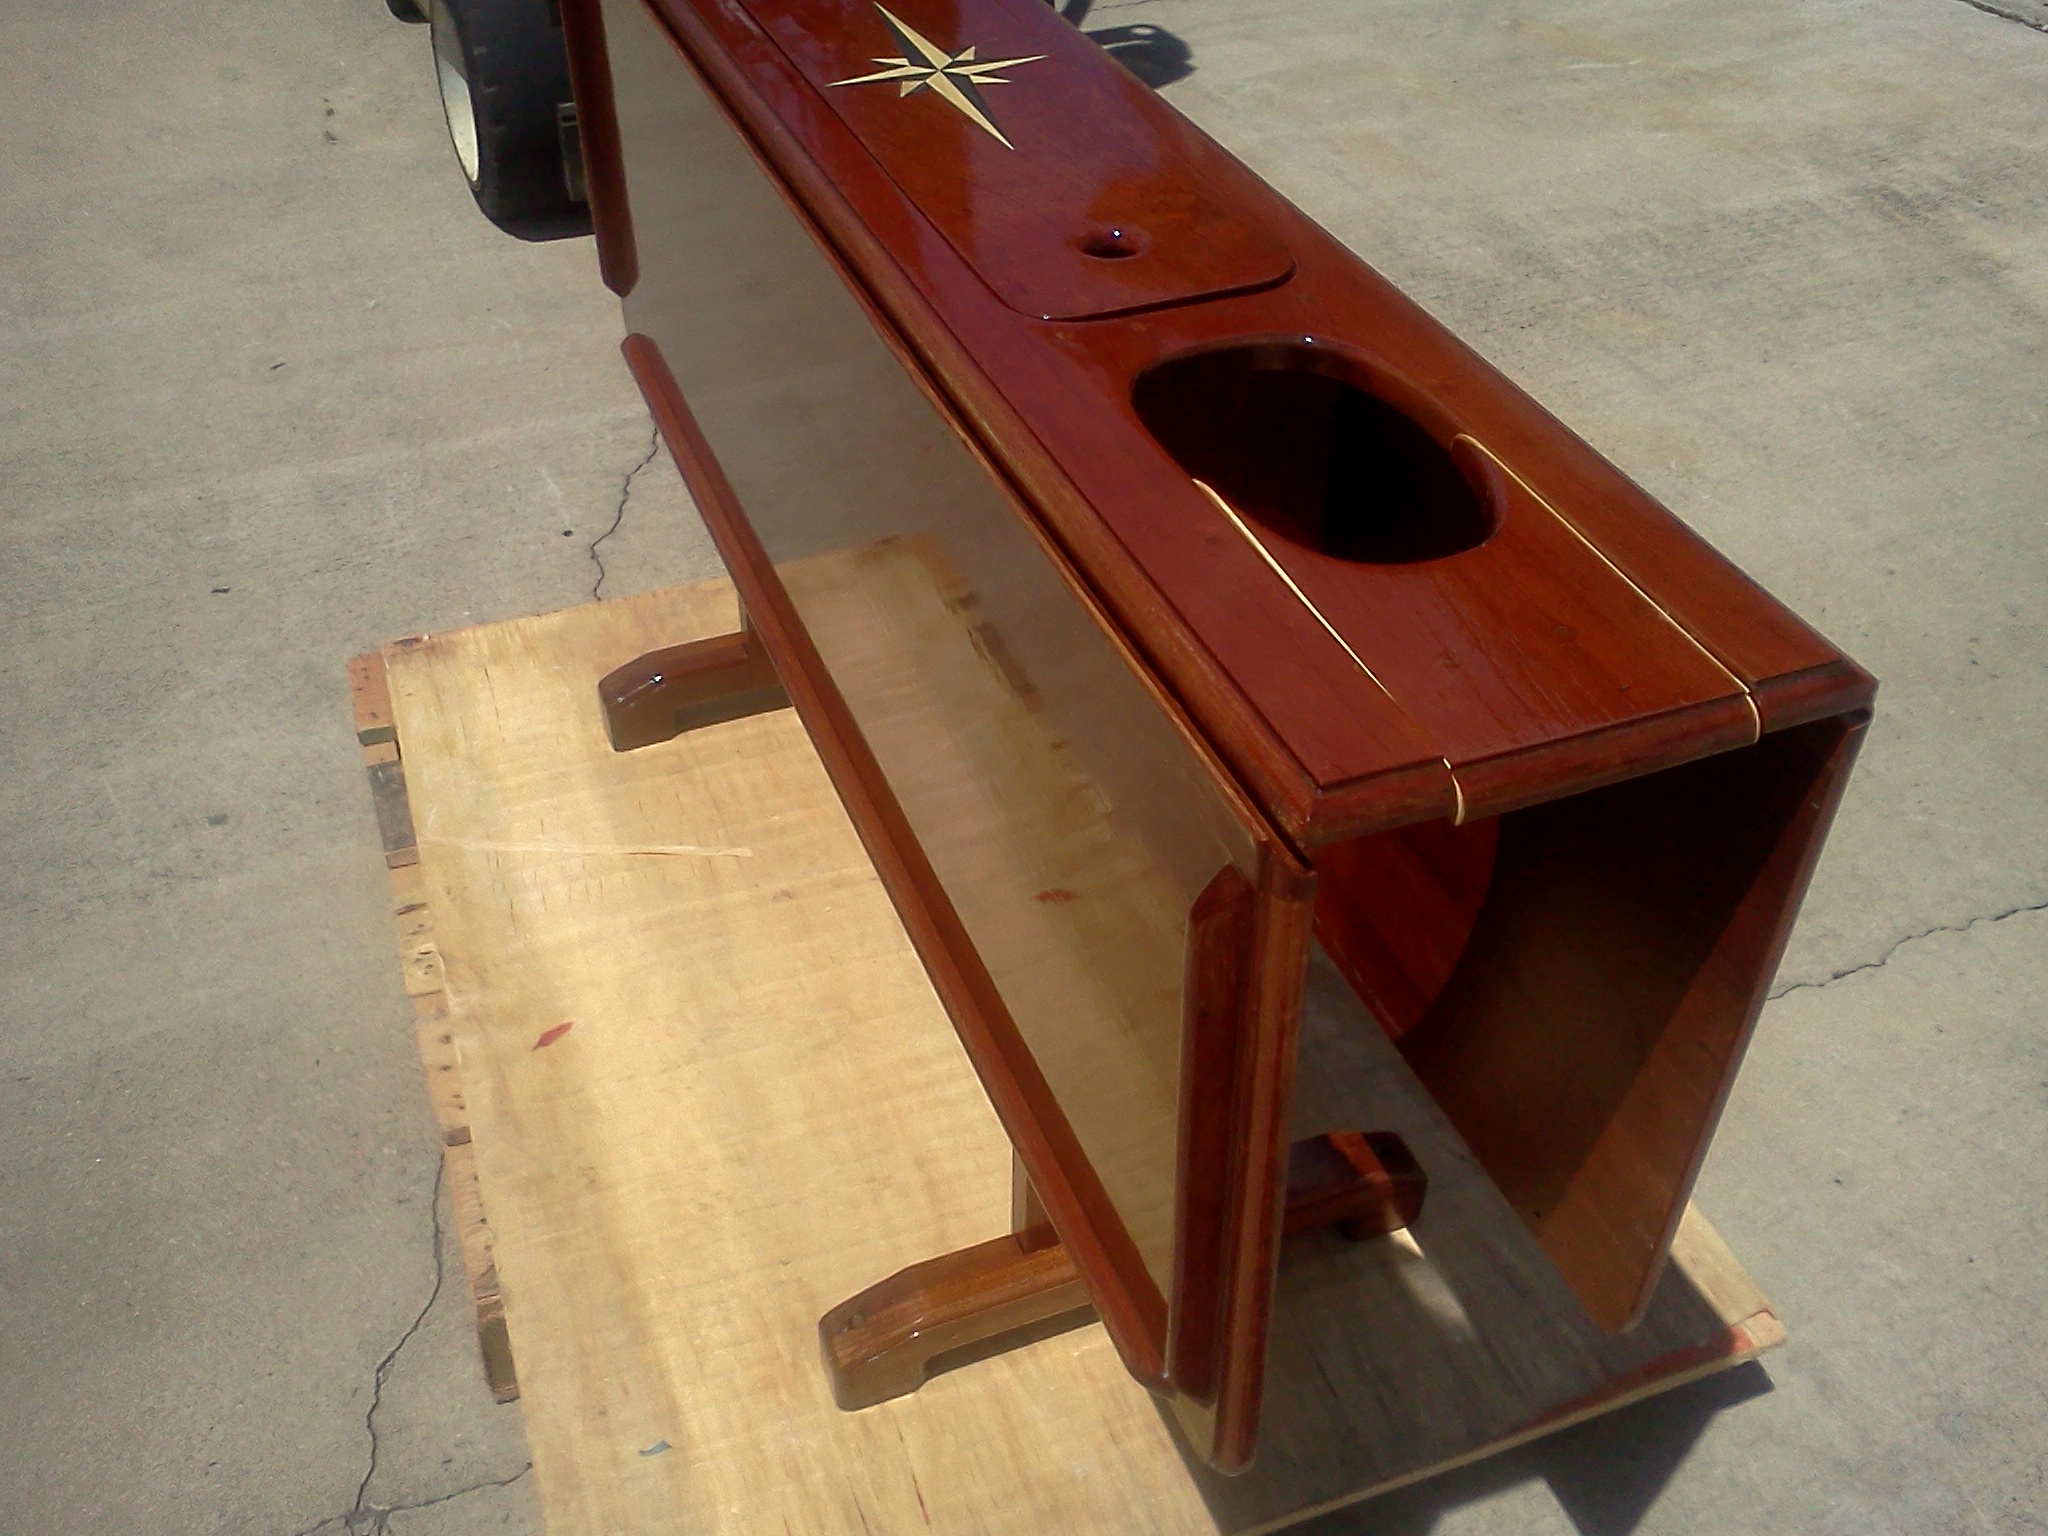
Main Table
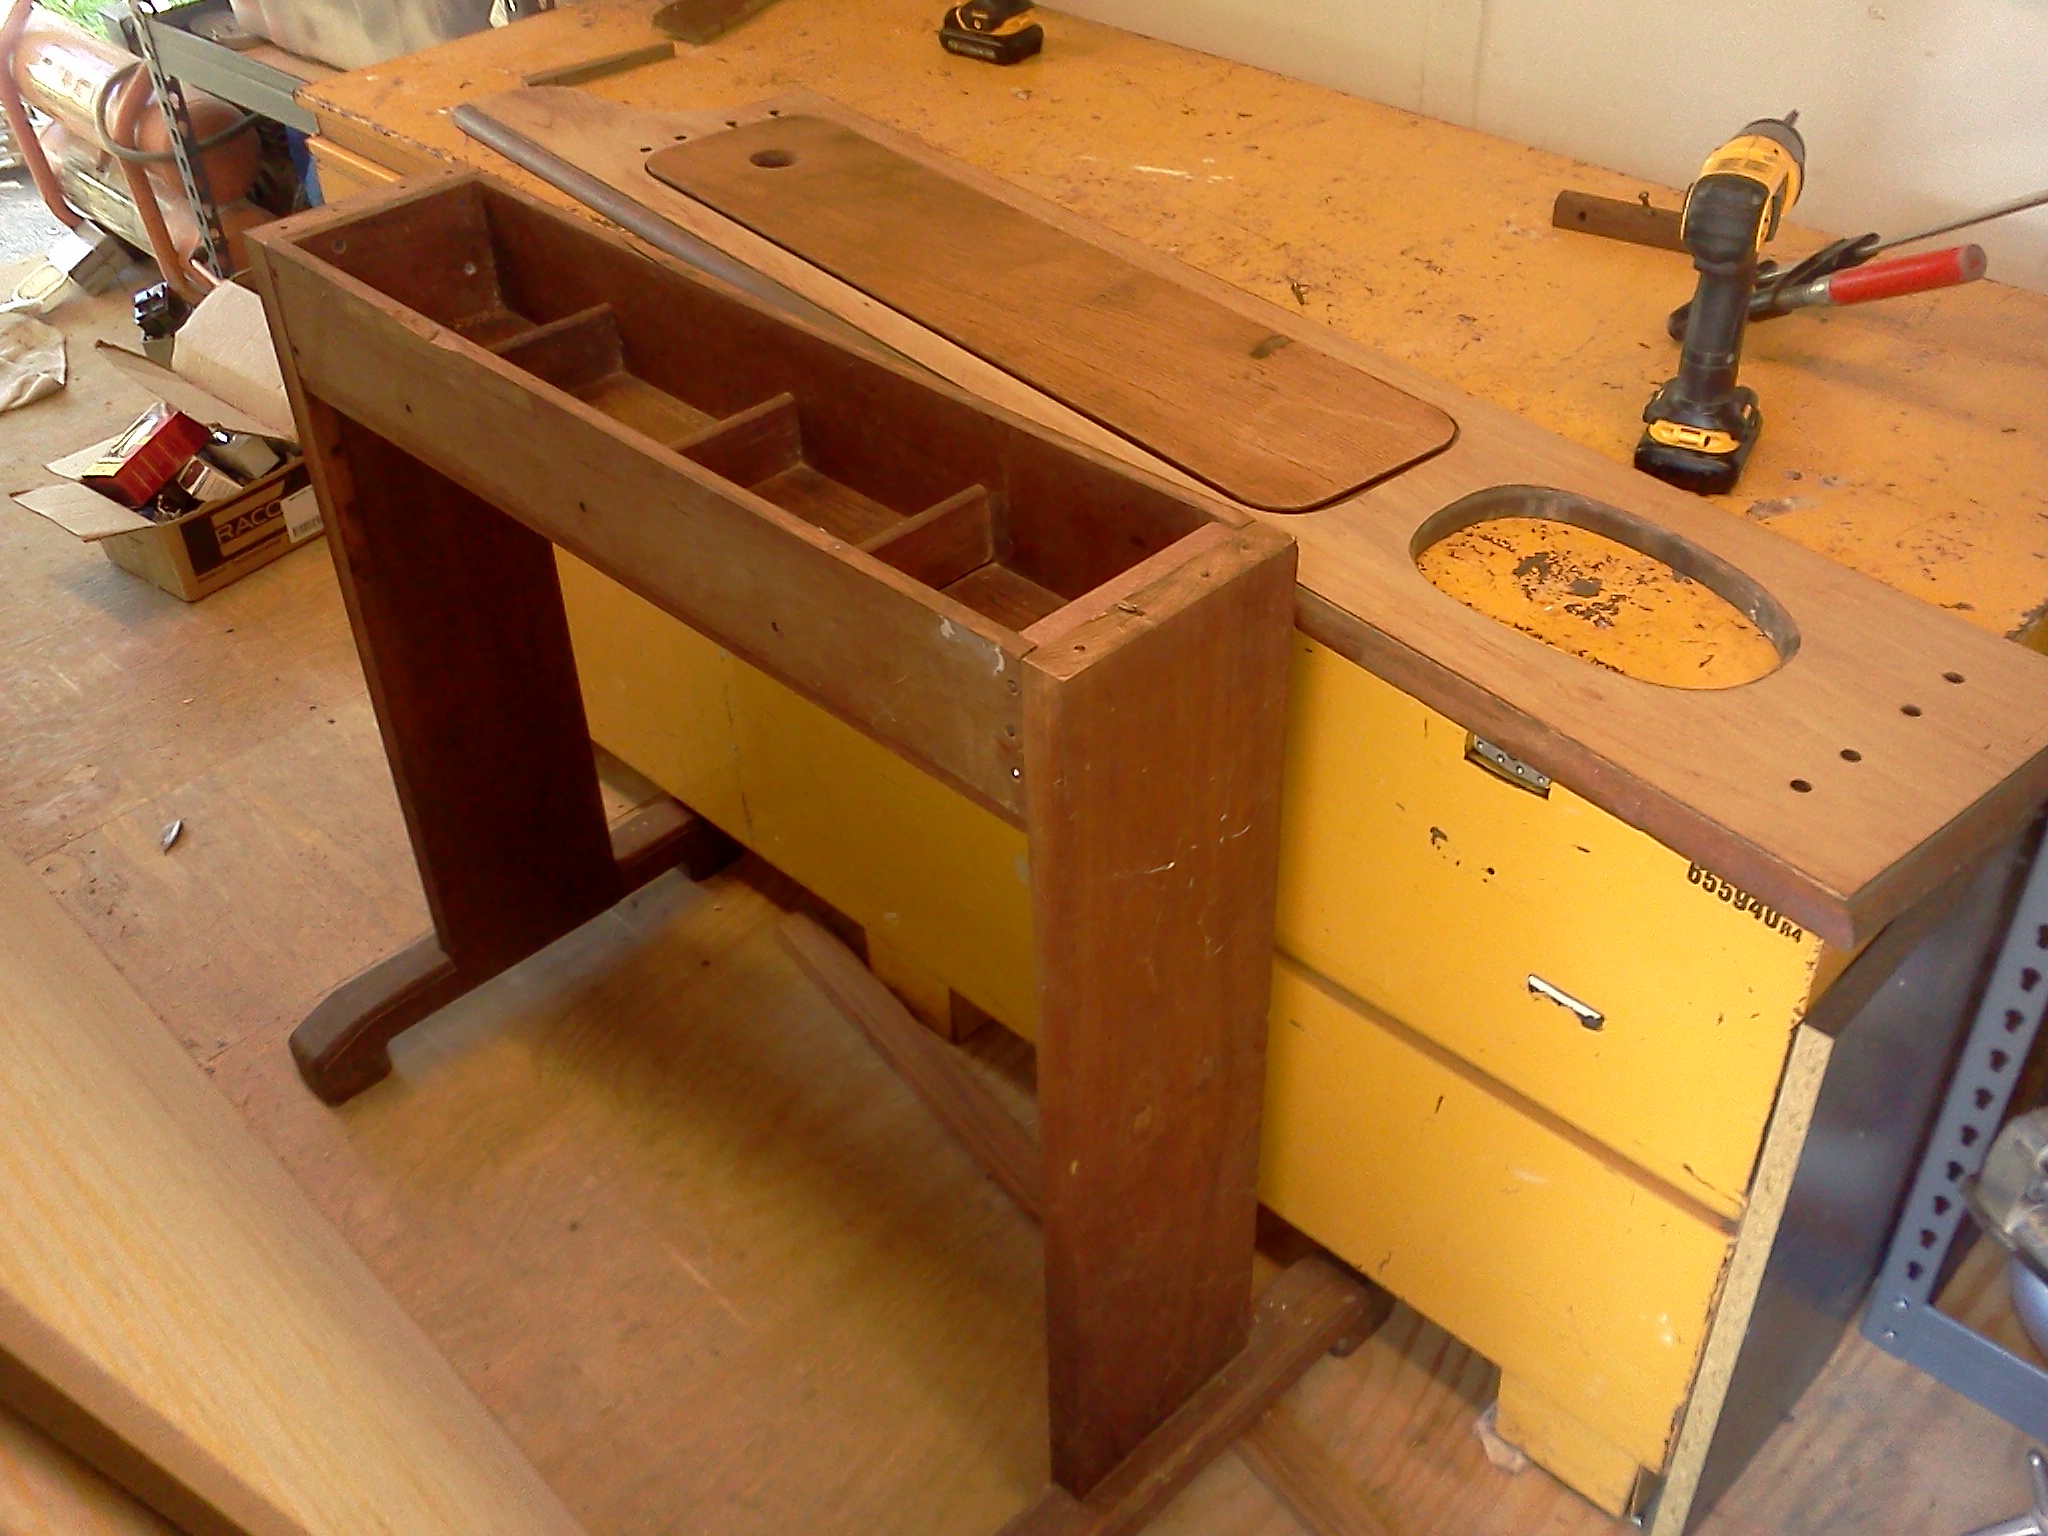
Here is the table in my workshop. I stripped off all the hardware and leaves. As you can see, the forward leg is placed forward of the mast hole. I removed and resized the storage area and moved the forward leg behind the mast hole.
I will cut accross the mast hole and make it so that I can slide the table in and secure the short piece around the mast for additional security. It is bolted to the floor through the table feet.
Main Table
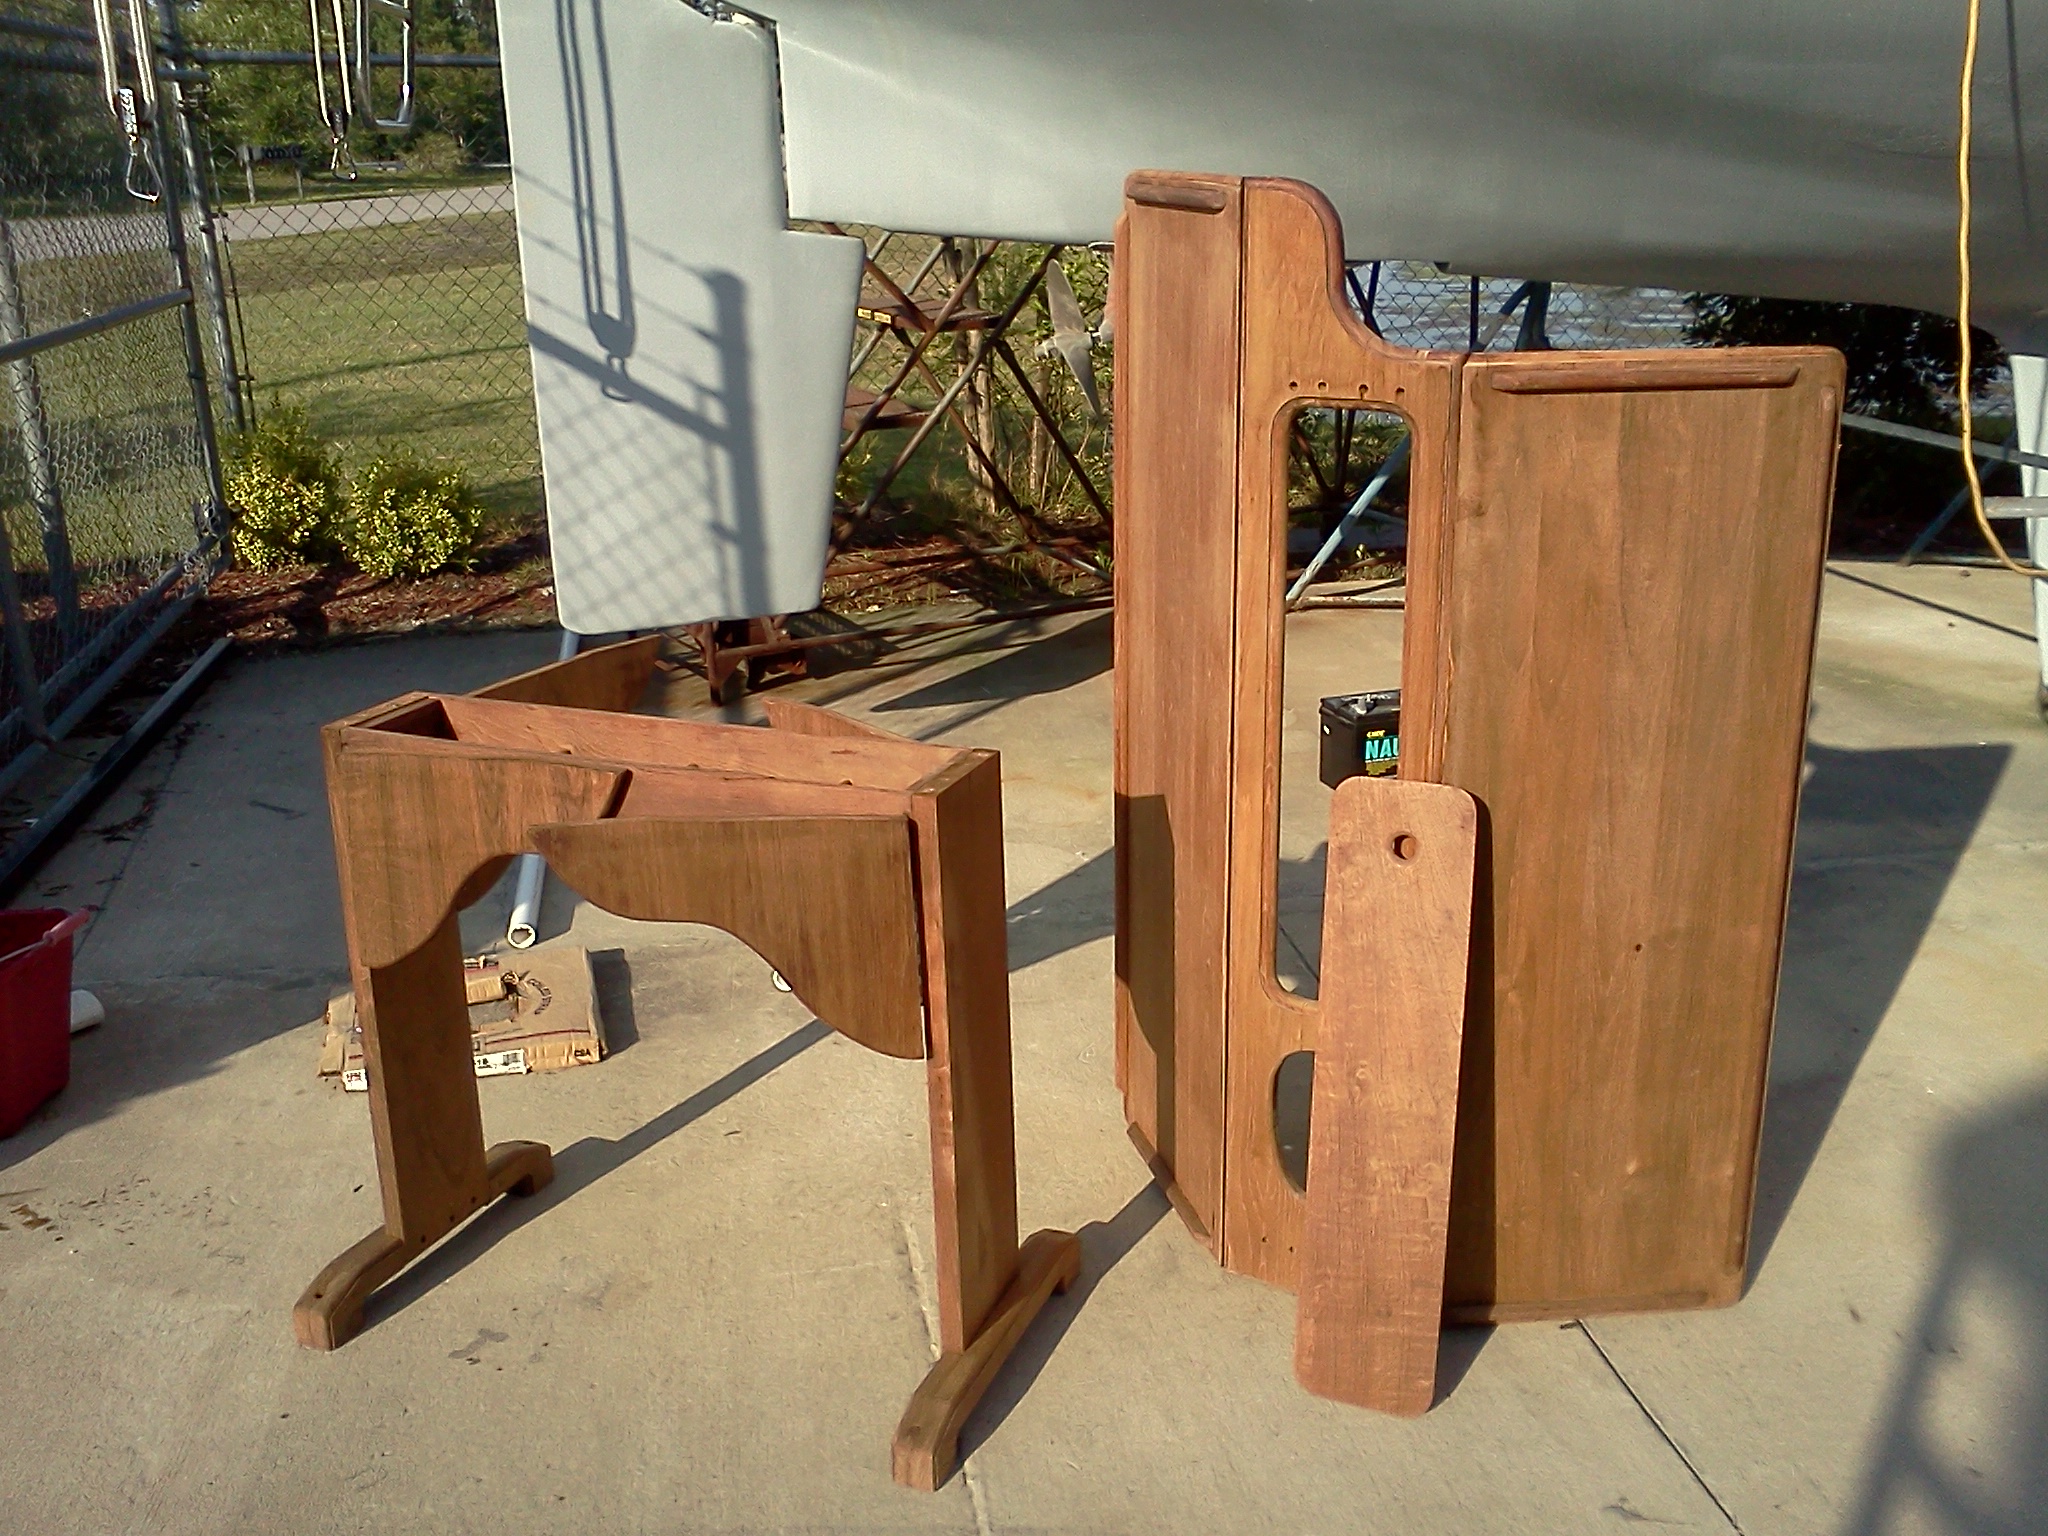
Table after modifying the frame. You can see that it is shorter now and that the mast will pass in front of the table. I have to make the hardware for the top yet. It is the same idea as adding a leaf to your dining room table. This will allow me to remove the table at any time and not only when the mast is stepped down. Securing the cut piece will keep the table from swinging fore and aft as it will be attached to the mast.
Table is ready for several coats of sprayed on spar varnish.

MAIN CABIN TABLE
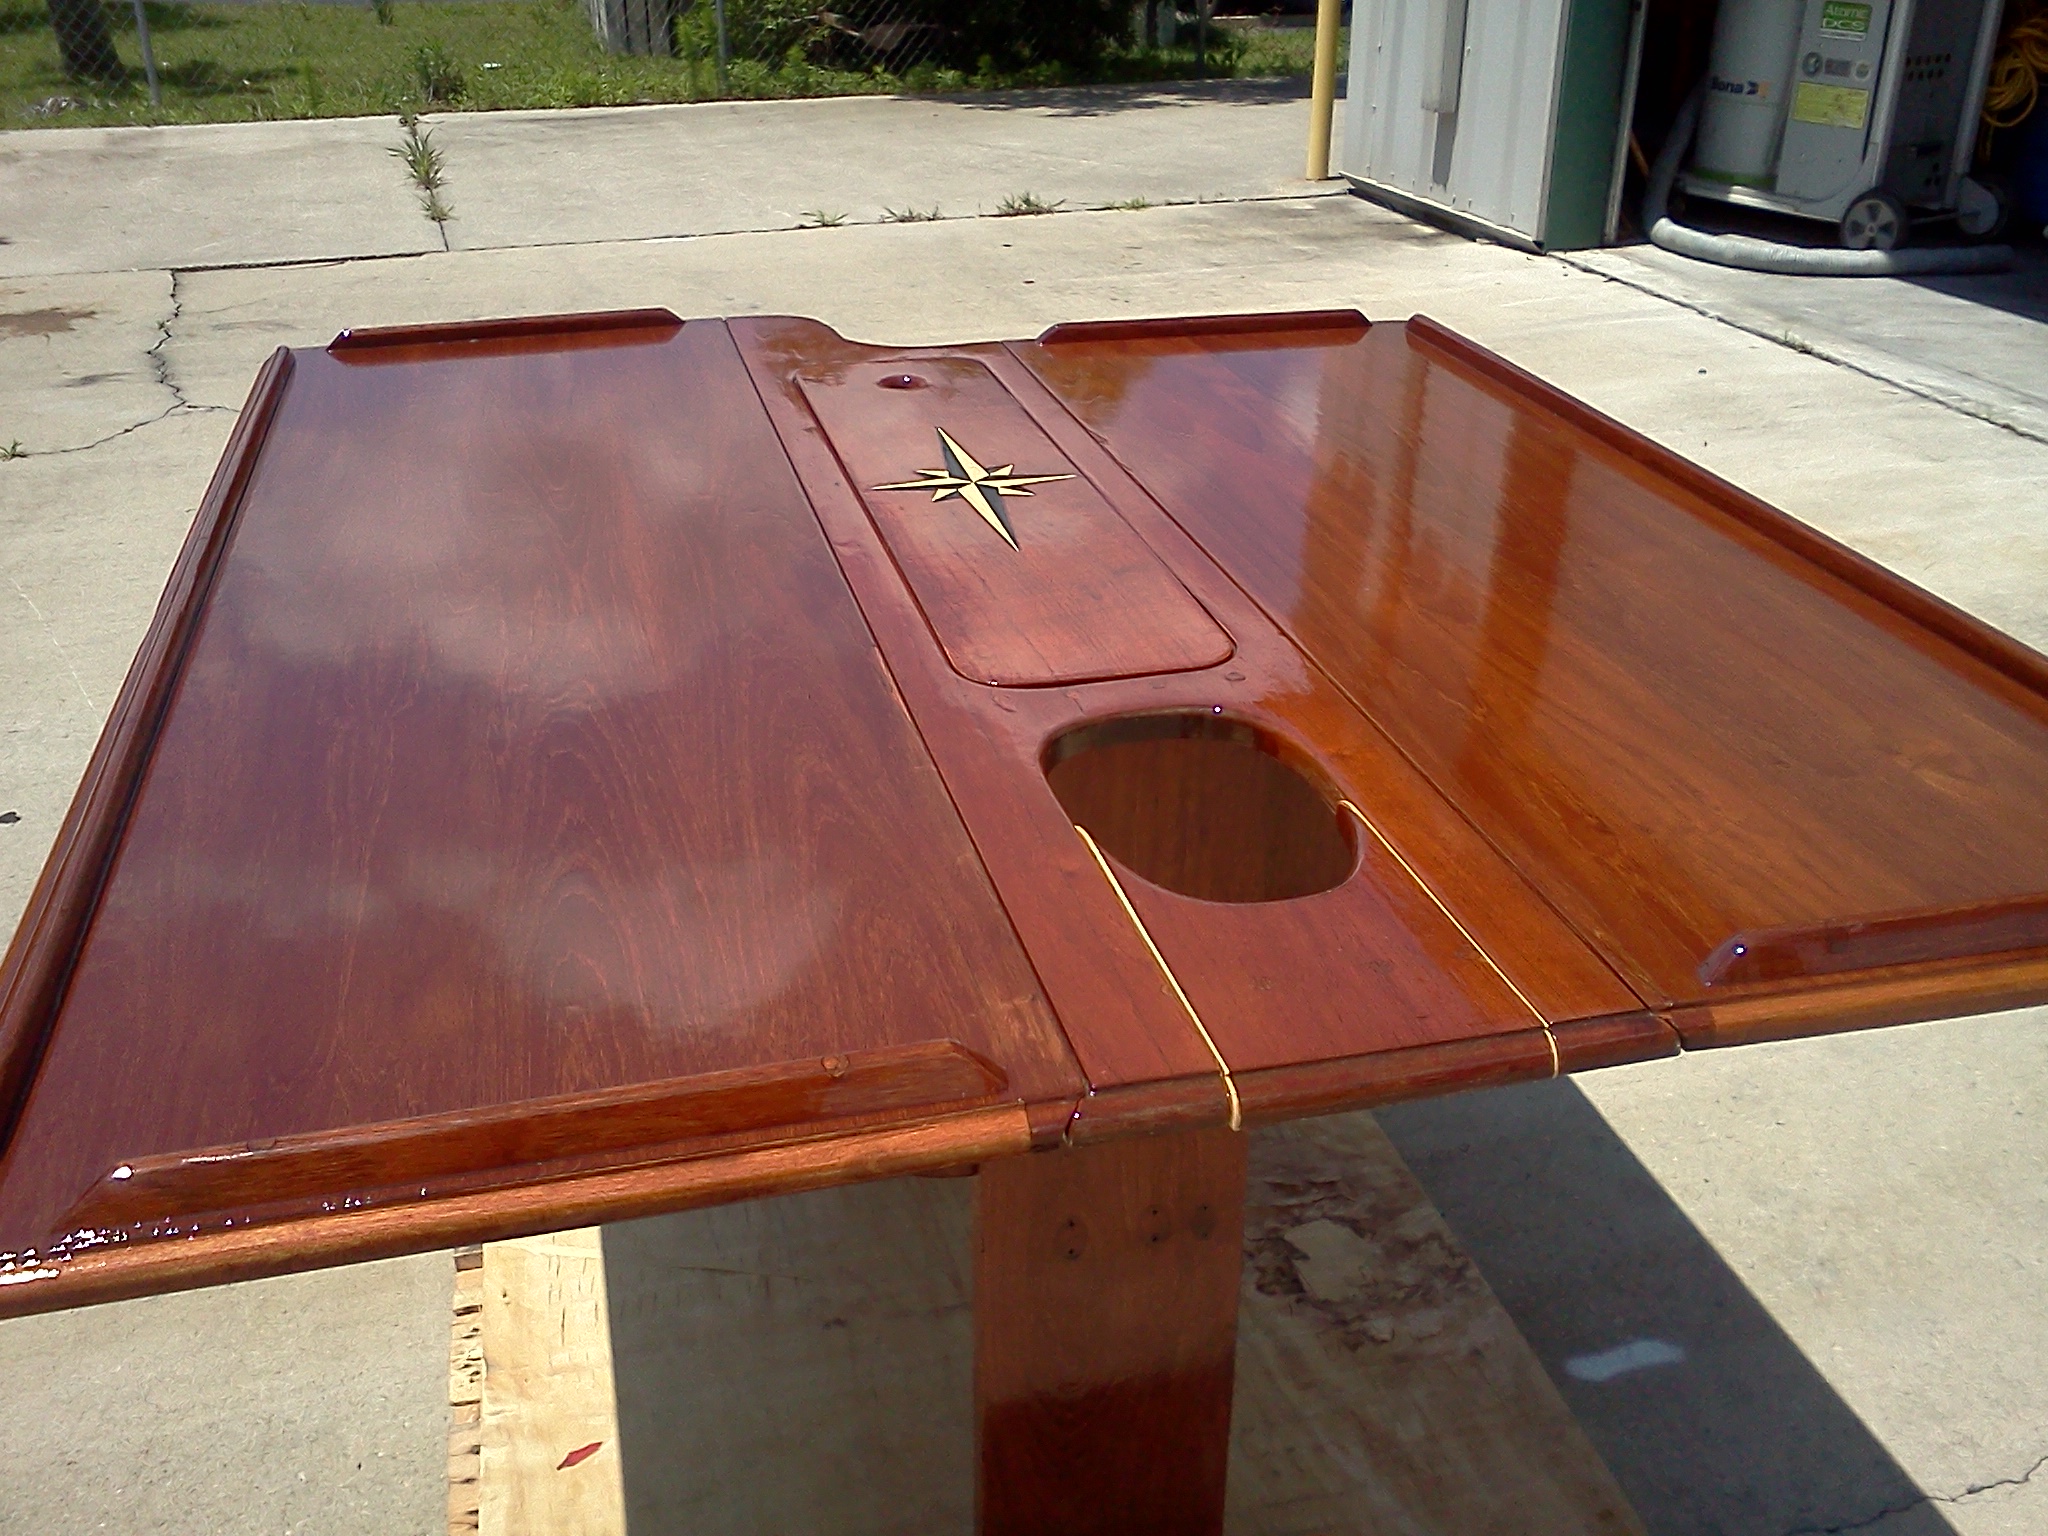
Since I could only work indoors, I decided to drag out the salon table and get it ready to go back in the boat. I had taken the leaves out and repositioned the forward leg inside of the table so that it could be installed after the mast is in. At present, the mast goes through the table top and you must decide when you step the mast weather you want it or not. I still have to cut the top off, but I decided to make a new center section. The original table has a 5" deep storage area and I could improve on that. I decided I needed a safe place to store some bottles. I needed at least 13" in depth as most quart bottles are 12" tall. I stopped by the store on my way to work and purchased a couple of bottles of vermouth and Campari as I was out at home. I told my wife it was for research purposes. Anyway, made a box out of cabinet grade 1/2 birch plywood and stained it as dark as birch would go. It is pretty close to the teak. Sonoma red was the Minwax color. You cannot see the storage box with the table leaves down. Only with the leaves up, you can if you crawl under it. I had some sole plywood left over and made a cover for the bottom of the box. It looks better than just plain wood in there.


May 4 , 2013
Another lousy weekend. It looks like Hurricane season. 70 degrees and rain, then sunshine, then rain again. Most week end spent dodging showers and high winds. Crappy weather. Although it could be worse. I unloaded an 18 wheeler on Thursday that brought 20K sq ft of Connor maple flooring for a new gym we are building in N.C. He came from Laona, WI and told me that they still had 1ft of snow on the ground when he left on Tuesday. I guess it could be worse for us.
Using 220 sandpaper and 3M maroon scotch pads, we cleaned all the sole and prepped for a final coat.
of varnish. Cleaned and tacked all the surfaces with
sticky pads and applied a coat of High Gloss varnish, cutting with a brush and using a microfiber pad to apply the varnish.
I did all the bilge covers while Jeff did the boat interior.

May 17 - 24, 2013
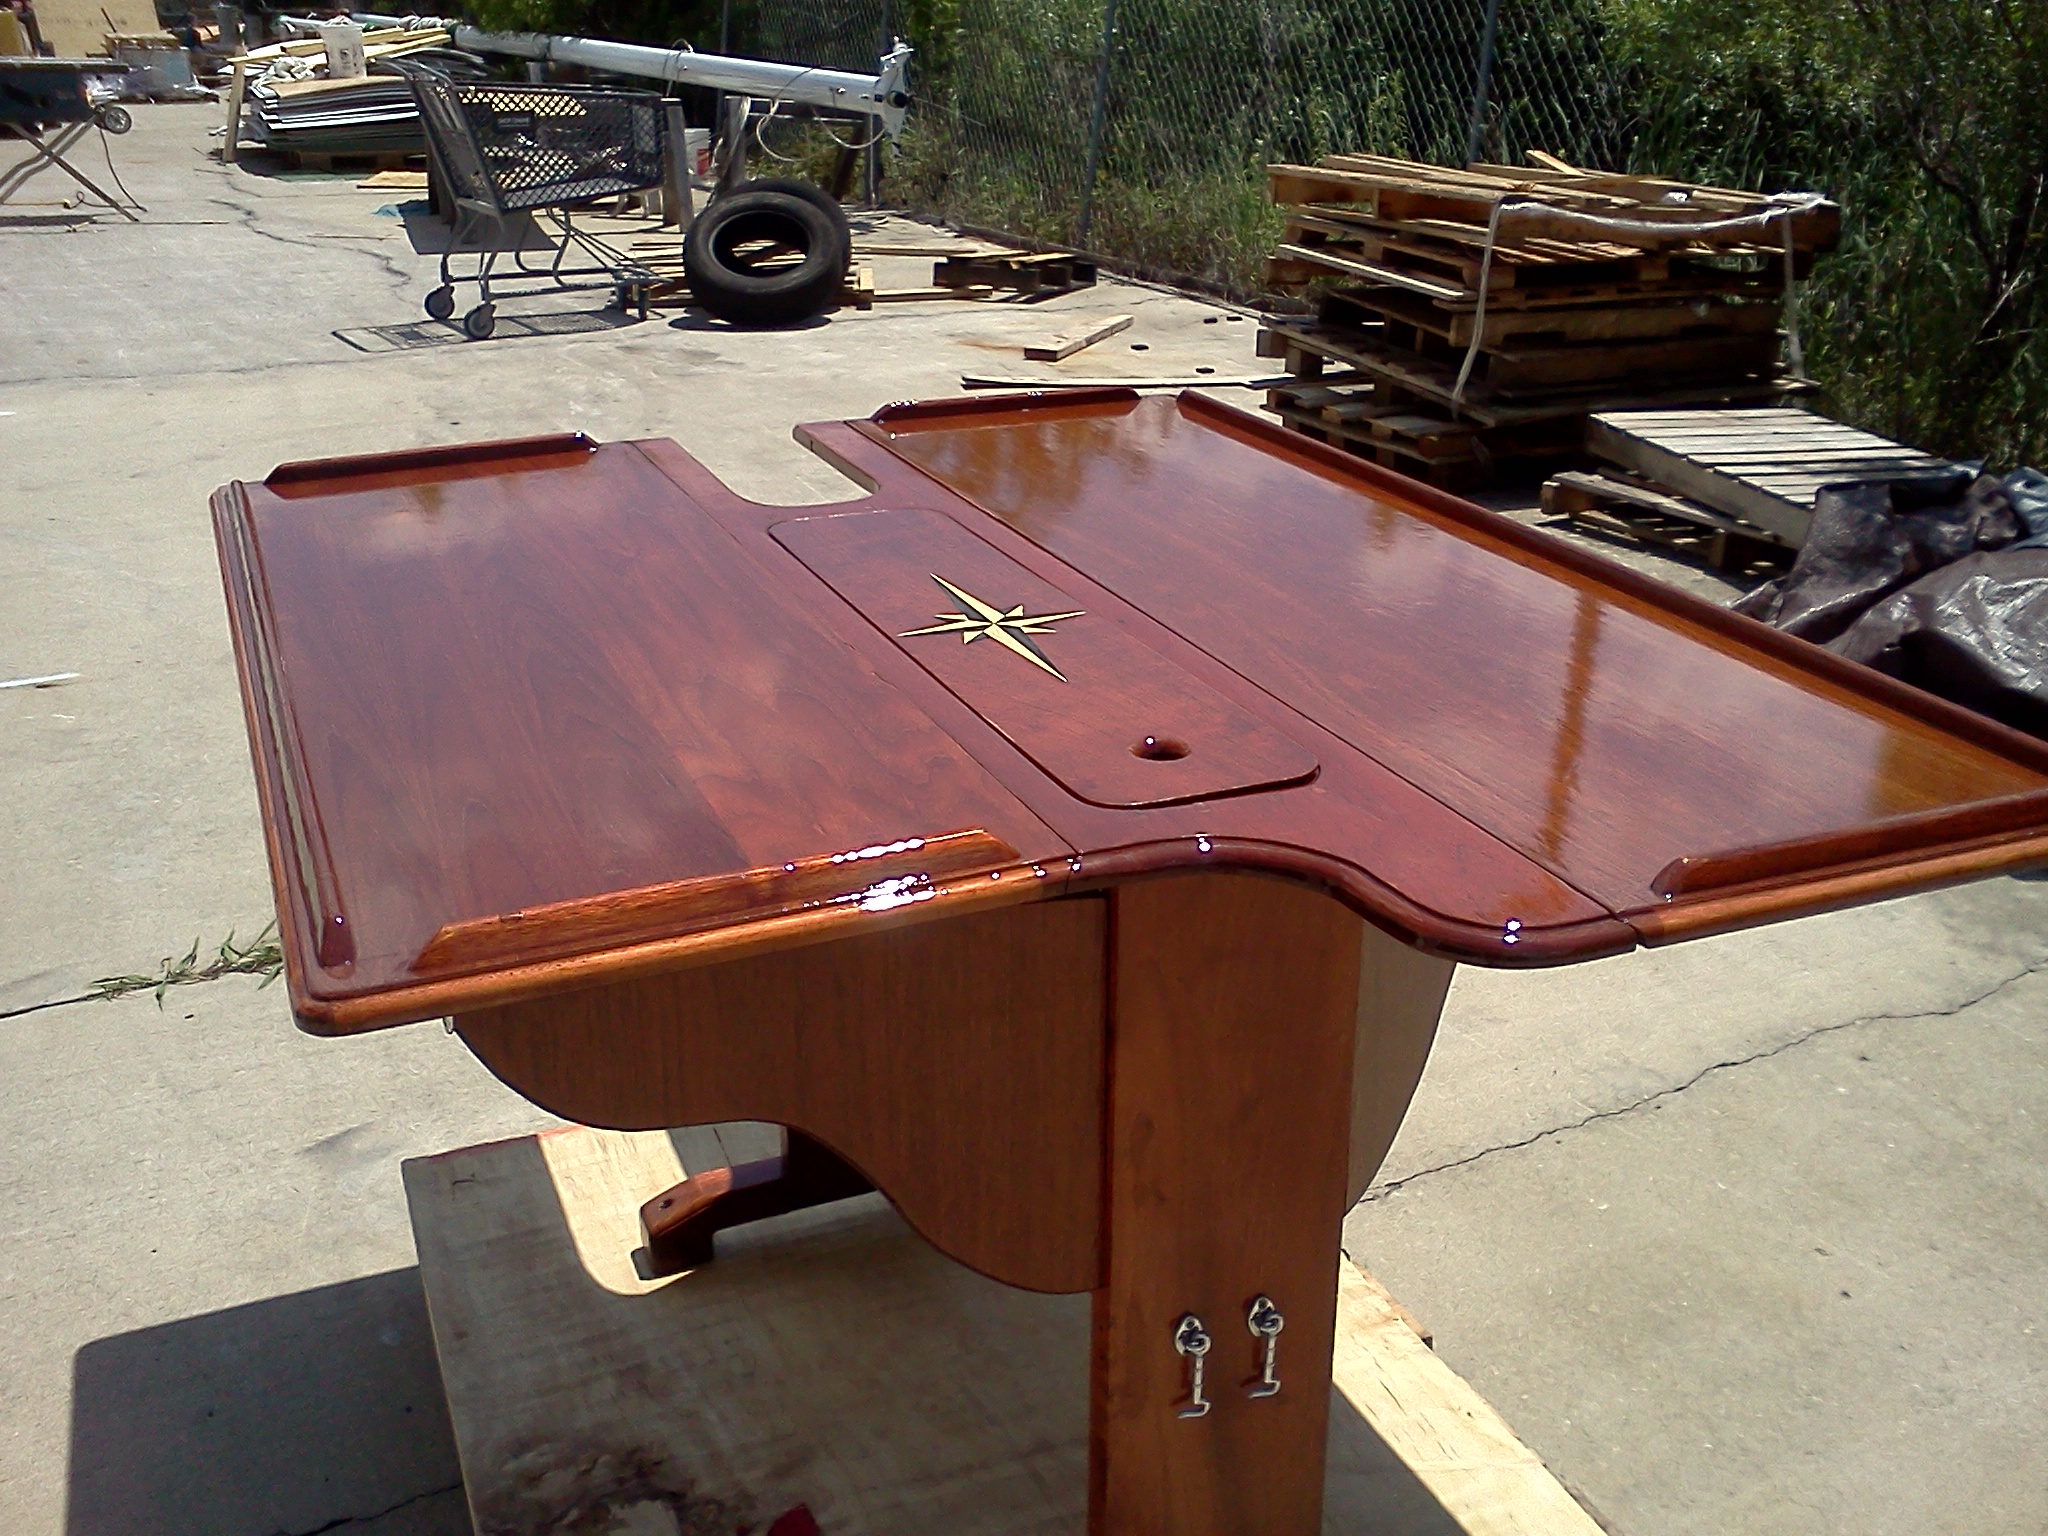
Still working on the salon table. Last week I had 1 coat of sealer and 1 coat of varnish with 2 sandings. Our sealer is a mixture of 50/50 varnish and thinner. We call it the Frankenstein bucket. It contains all the left over varnish from jobs were some 5 gallon buckets had some varnish left but not enough to use on that job. Rather than throw it away, it goes into this bucket that will be used in house for sealer coats. . It is used to seal the wood pores and raise the grain. Most of it is sanded off and serves as a good base coat to start building the varnish layers.
It,s looking good but not quite there yet. The teak started to show some grain dishing and the table top was not smooth. A third aggressive sanding with a hard plate Bosch sander got most of the ridges off and gave me a great flat surface to start laying the good stuff.
I used my top premium court varnish. This is the stuff we use when refinishing NBA courts and some of the top Colleges and Universities basketball courts. Usually, High Schools get the cheaper stuff. This Bona Sport Court has the most solids and the highest gloss of all the varnishes we use, water borne or oil modified, bar none.


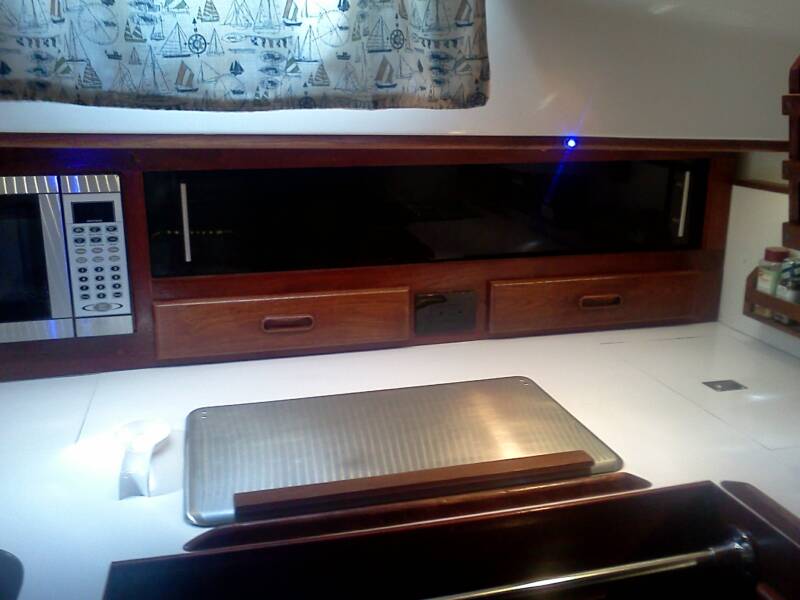
Saturday April 20th
Final coat of floor poly.
Since that went so well, i decided to tackle iten 2 of the day.
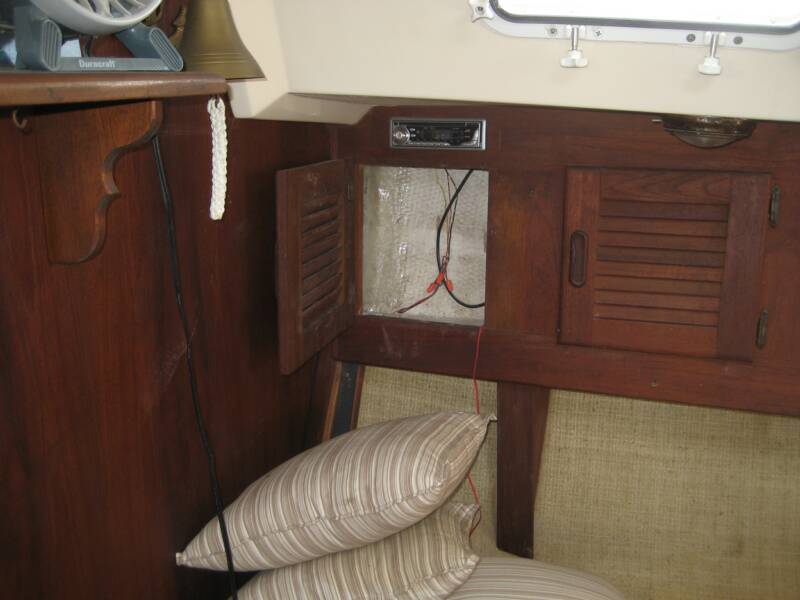
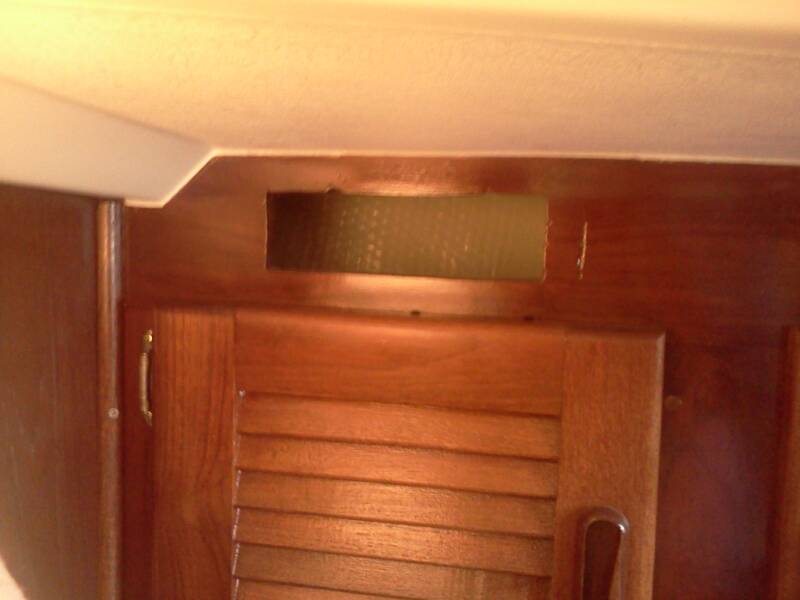
There was a hole in the starboard cabinet that held a car radio at one time. Since I moved the radio to the electrical panel., I had a hole in the teak that bugged the hell out of me every time I looked at it
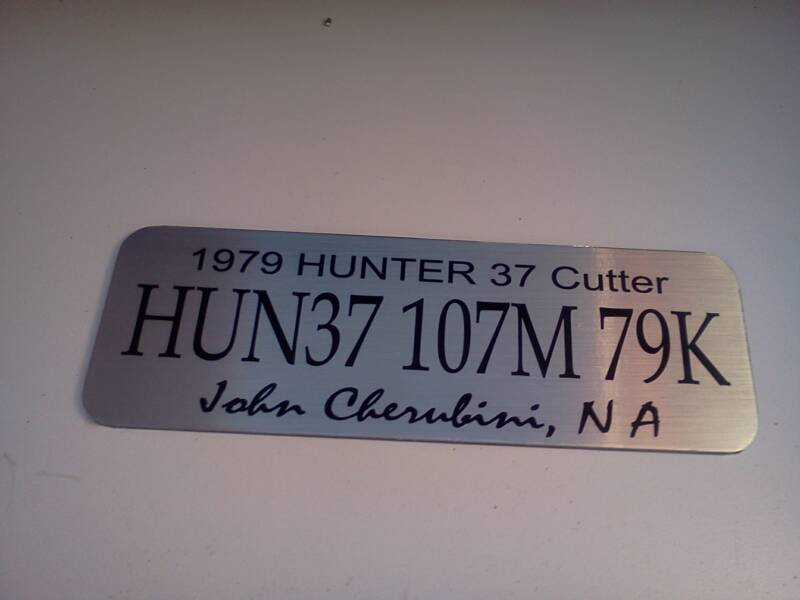
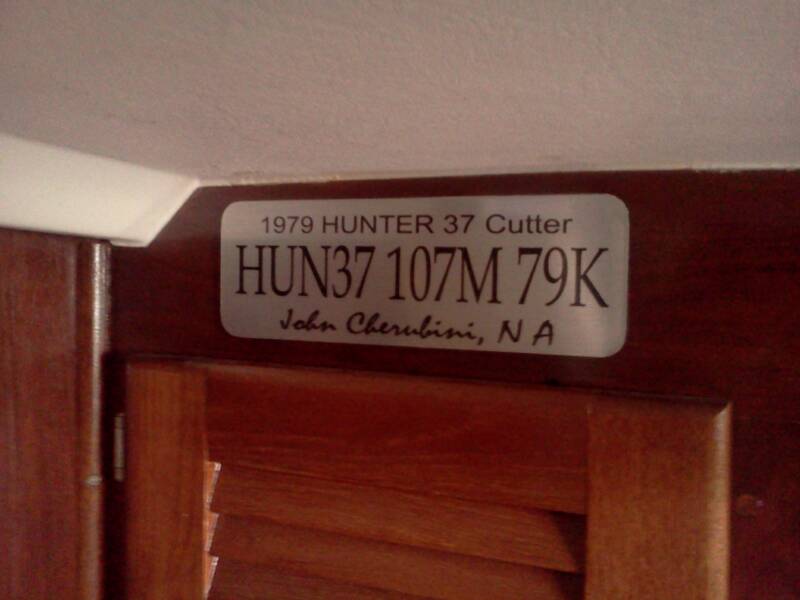
I decided to make a plate to cover that hole. Most registred boats must have a plate with the registration number somewhere visible on the boat. Since my boat is not registered but only has a state license, I would make a plate with the hull number as a cover and get rid of the hole that way. My sign maker friend had some brushed aluminum vinyl on hand. He printed the PDF that I sent him and mounted it on a thin aluminum plate. I installed it with screws and voila.
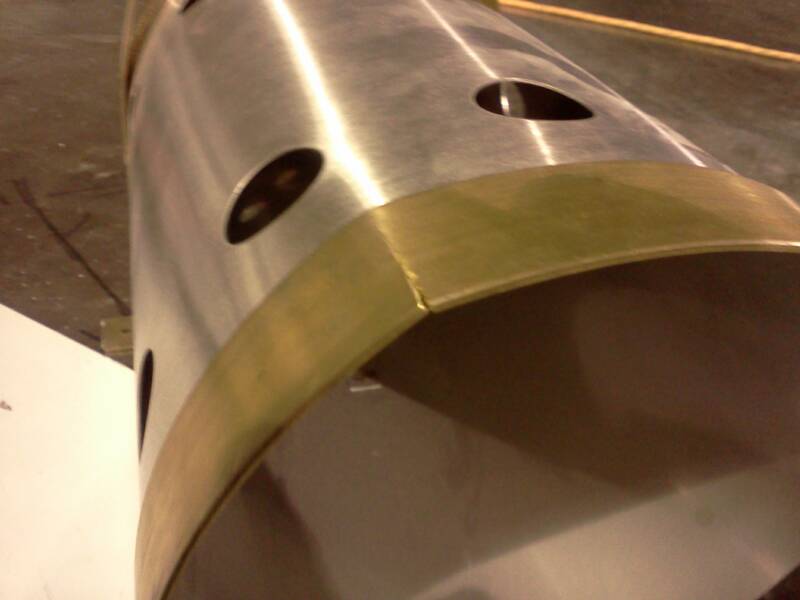
Heater flue installation:
Tackled the heater flue installation. It vents through a 1" stainless pipe. The main problem was
lining up the Charlie Noble on the outside with the pipe on the inside in order to cut the hole through
the deck. I used a very heavy duty rare earth magnet puck on the outside of the deck and suspended
a round tool socket on the inside of the ceiling liner. I new where I needed to be on the inside and
this way, I could locale the placement of the Charlie Noble on the outside. There is a relief on the
deck around the mast hole and I wanted to make sure my hole did not fall right in the edge since
I wanted a flat surface.
Once I found the correct location, I drilled a 2" hole and found a thick layer of good looking plywood sandwiched by the deck and the liner. I did have to make a teak spacer for the pipe to be able to hug the bulkhead fiberglass rib as close as possible. I wanted a straight flue and this was the best way to route it our


Main Table
This is the main cabin table as I removed it. It bolts to the floor and is fairly large. I has a storage area in the center with a lid. It is in good shape and I just finished stripping it and getting it ready for varnishing. The main problem with this table is that is was designed to be a permanent fixture as the mast passes through it. So, you must decide if you want it in or out. After working in the cabin for so long without the table, It looked huge when I installed it temporarily a couple of weeks ago. So, I pulled it out again in order to modify it. I want to be able to installed it after the mast is in and decide if I want it or not.
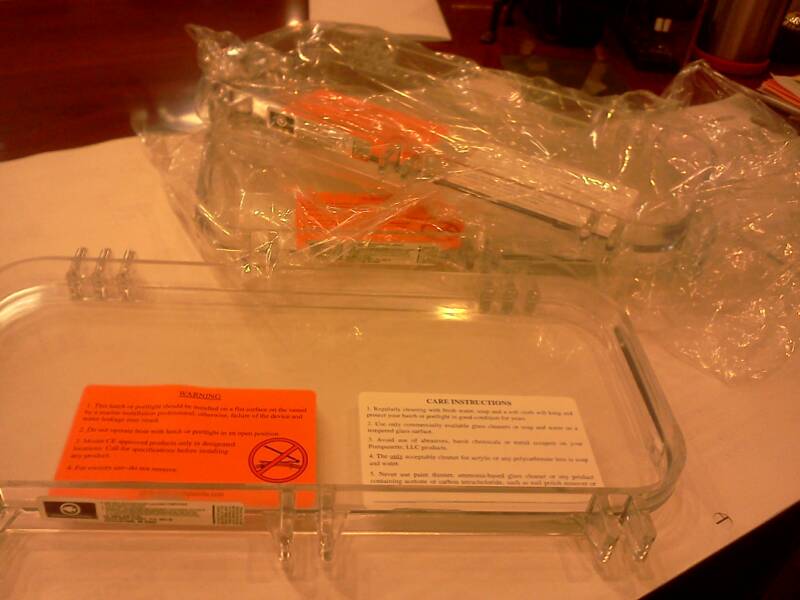
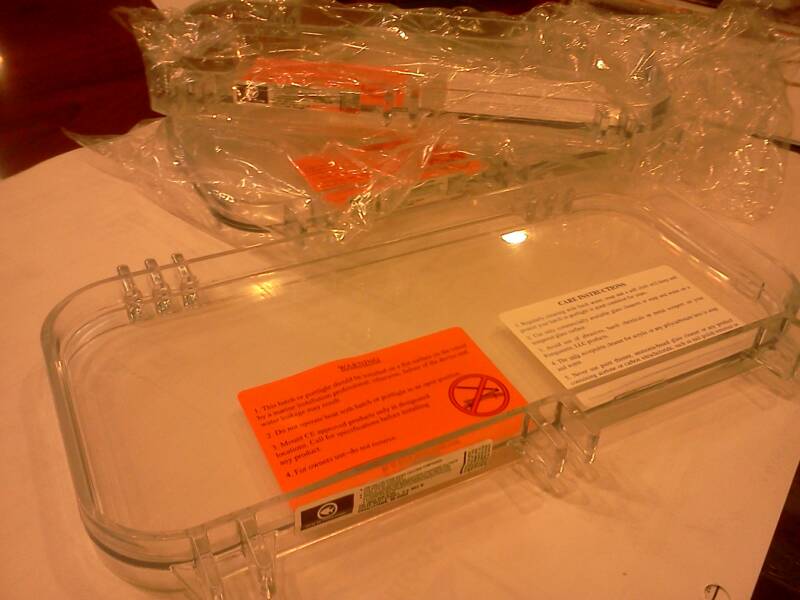
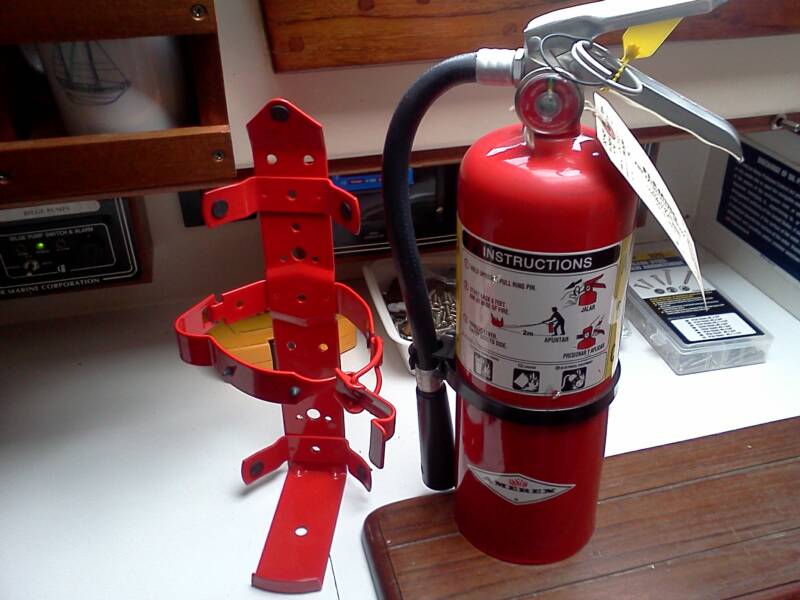
The Fire Extinguisher people paid us a visit on Monday. It was time to inspect all the fire extinguishers in the building, trucks and forklifts,. After dusting clean, tapping and re tagging 18 extinguishers, I was presented a bill for 180.00 for "maintenance". Not bad for 1/2 hour work. I showed him my white disposable extinguisher I had on the boat and the guy laught out loud. He gave me a new 5 pound USCG rated extinguisher with a uscg approved holder (he called it a police car bracket). It has a solid bracket with a good latch. No charge he said.
At least I got my monies worth.
SATURDAY JUNE 8th
What a week of rain. Could not do much on the boat other than chase leaks. I had a porthole that had never leaked start to drip. Traced it to a missing snap on the deck. Jeff had removed all the dodger snaps in order to paint the deck in Sand color. Re installed all the snaps and bedded them in polysulfide caulk.
All the superstructure is removed. All items are packed in the forward cabin. Installed the new freezer. It is a 12 or 24 volts, 110 to 240 volts and 50 or 60 hertz freezer. It should rum pretty much anywhere in the world. removed the stove in order to have more room to work. got it to fit under the stove, where the oven would go and inside the new cabinet I made. Running at #4 it freezes anything thing you stick in it.
I made two 4" teak cleats to secure the sides of the freezer and secured the top to the cabinet frame with an aluminum bracket. Now it is solid will not move at all. The cabinet doors close and you don't even know it's there.


