
THE near DEATH AND RE BIRTH
OF A
1979 HUNTER 37 CHERUBINI CUTTER
HUNTER 37 CUTTER
Engine
Yanmar 3 QM 30
The engine hour meter shows 2,200 hours. Without any history on this engine it is hard to tell in what shape it is.
Installed fresh battery and engine started at the first starter turn. Amazing after such a long layout. Had to scramble and figure out how to cut it off as there no kill switch and I had the gas lever off. Finally, found the compression relief lever and was able to shut it off.
Whoa. What a surprise.
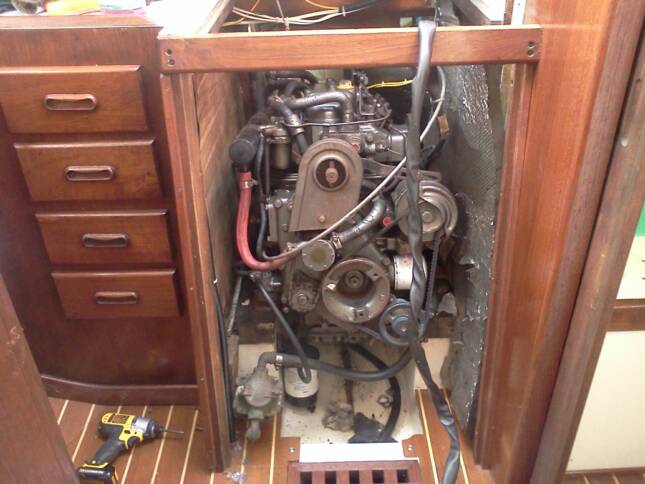
The original engine as found. Started by changing the oil and filter, Impeller and belt. Checked all hoses and electrical wiring harness.

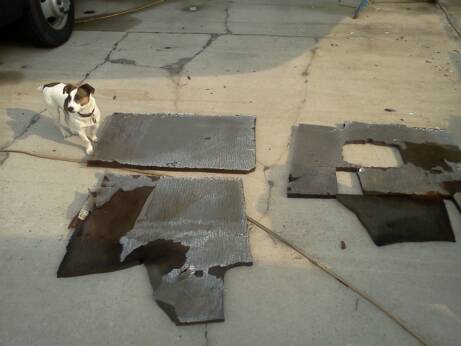
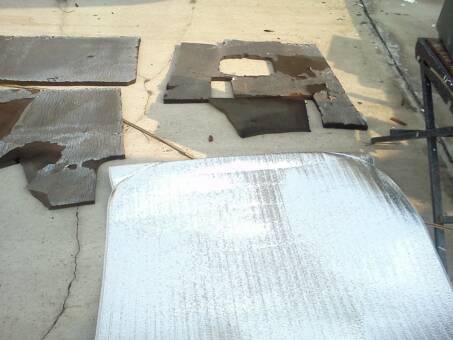
The engine room insulation was falling off. So I decided to pull it out and clean the space. It also gave me more room to work with. It smelled of diesel and was nasty. After 30 years it was time to replace it. Purchased a roll of foiled insulation and used the existing panels as patterns to cut the new insulation with.
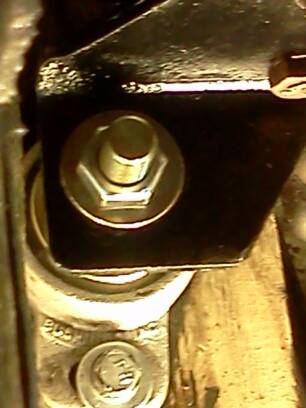
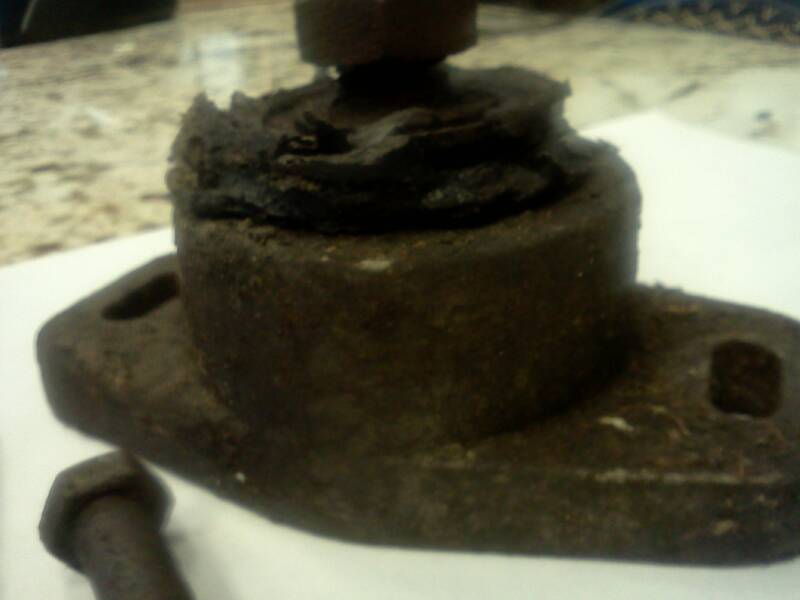
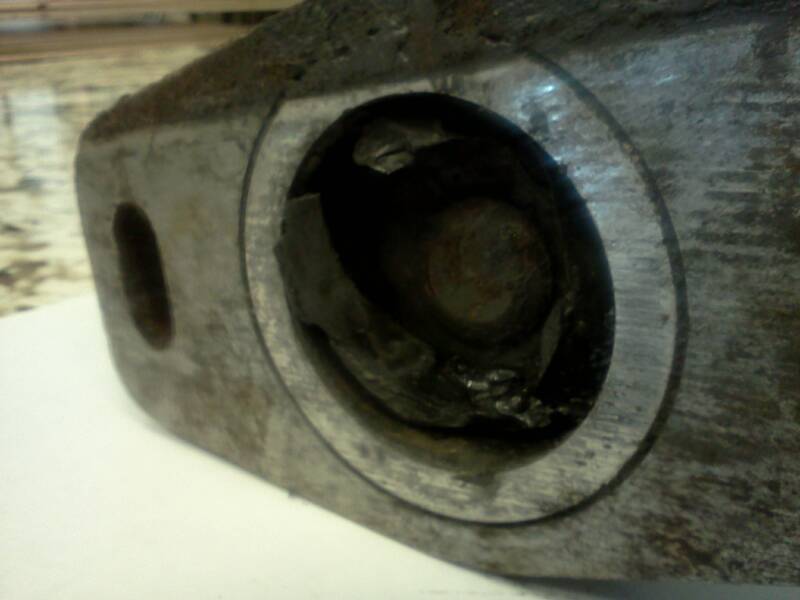
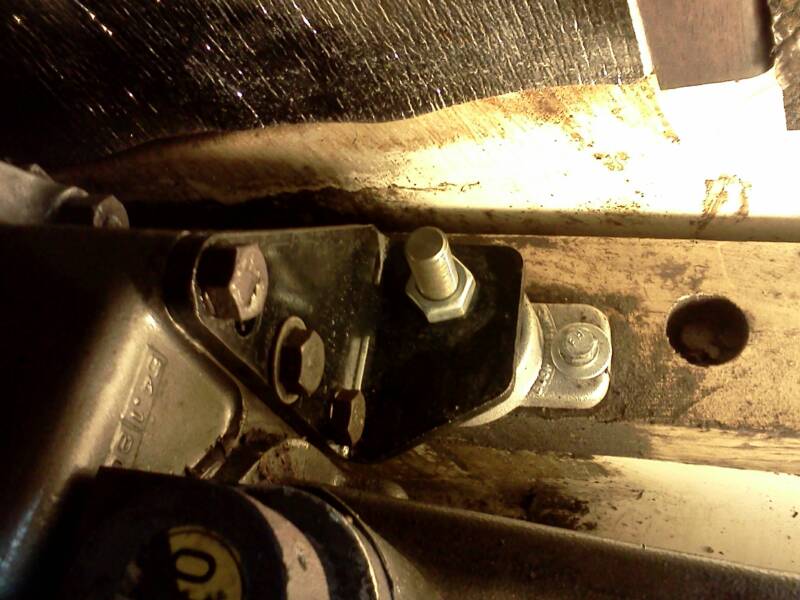
All 4 motor mounts rubber were disolved. The oil and vibration had done a number on them. I found several pieces of rubber under the engine so I could see they were on the last leg. I used my 1/2" inpact gun to get the lag bolts out. Some came out OK, others were loose and no threads left on the 4x4 lumber that served as an engine bed. Used new bolts, one size larger, one inch longer and screwed and epoxy them in. All four motor mounts were changed. Did not re align the shaft as the new mounts were placed at the same level as the old ones. Anyway, will have to align shaft if needed after 1st sail
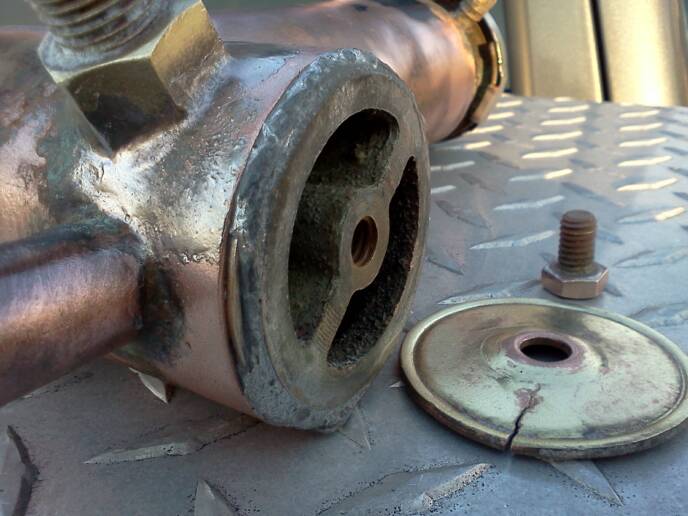


Found a huge leak at the rear of the engine. Had to remove the rear berth panels in order to reach the rear of the engine bay. The existing door on the lazzarette was too small for me. I crawled in and half our later had to use my cell phone to call my son so he could help me get out as my legs had locked up from been in that confined space. I had to replace the water heater and motor mounts anyway so removing the wood partitions to the rear berth made more sense. I could work in the warmth of the cabin in the prone position. But I diverse. I found the water leak. The leak was at the heat exchanger. It was so corroded I could not find it. Finally, decided to remove it and look. Sure nought. The rear cap was cracked and leaking. Found a replacement for 8 box. Cleaned the heat exchanger by dipping it at the radiator shop and re painted it.
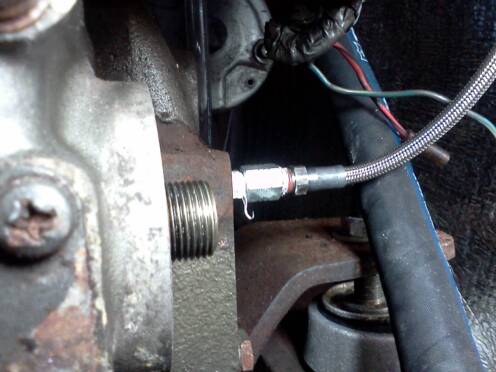
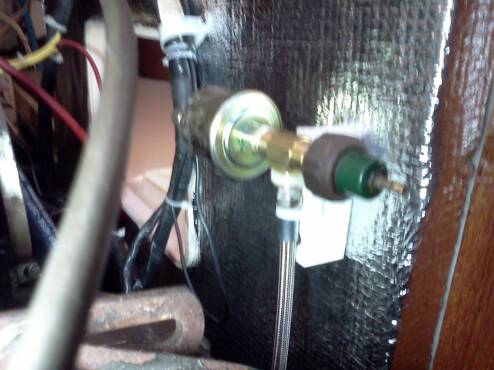
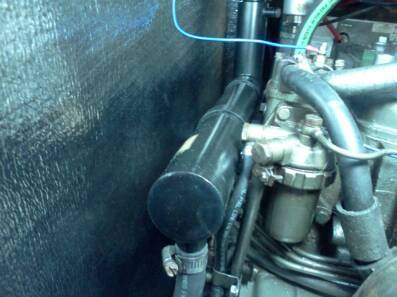
I wanted a reading oil pressure gauge so I tapped were the original low pressure sending unit was located and added a stainless hose to a remote location where a brass T handled the original low pressure alarm sensor and the new oil pressure sender. Now for the nuts and bolts. The Yamnar block is not metric but english witworth threads, so I found a fitting for a mazda miata remote sending unit at Summit racing that worked. This insert changed from English to SAE threads. The hose and brass T is SAE threads and both senders installed without any fuss. On picture one, the threaded spigot you see is the location for the oil filter. Also added a piezzo alarm to the existing alarm located on the instrument panel. It was very low and now you can hear it loud and clear.
MOTOR MOUNTS
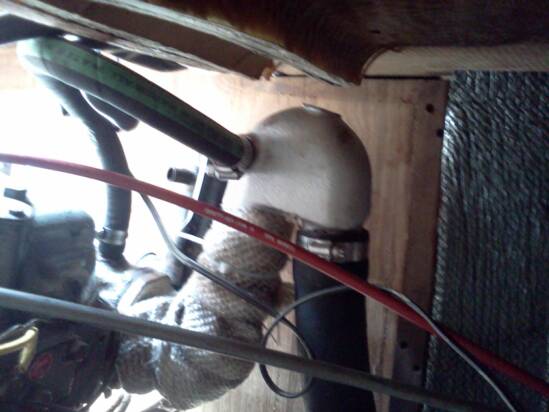
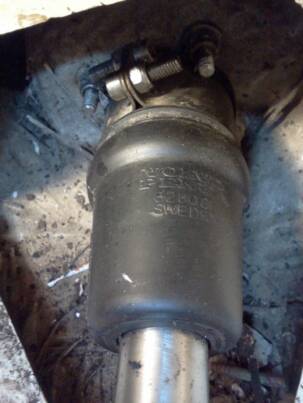
Boat had a new riser exhaust elbow and the packing gland was a Volvo penta rubber seal that requires no maintenance other than a yearly greasing and a burp when launching to remove trapped air.
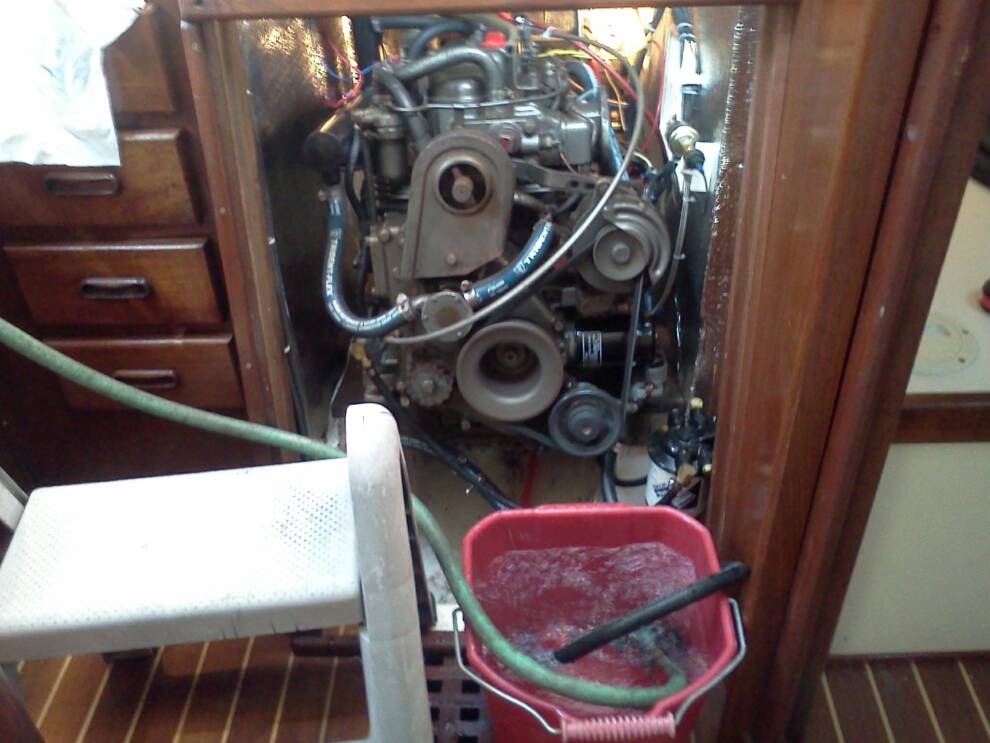
All new hoses, battery cables to starter, oil, oil filter, foam air filter, fuel filter and water intake filter. New transmission oil, New water overflow reservoir, etc. You get the idea. Starts and runs great.
Cooling water coming out of the exhaust


Removed the instrument panel and made a new plate for it. I wanted to add additional instruments such as oil pressure gauge, water temperature, volt meter and hour meter. Also, the oil alarm was very week. Replaced it with a new piezzo alarm that will run you out of the boat.
Made a Plexiglas cover for it and a sumbrella snap on cover to keep the water and sun out
April 13, 2013
Decided to tackle the engine late in the day. I had not fired the Yanmar since the tune up last year and wanted to see if it still came to life. Sure nuf, one turn and running like a sewing machine. I let it run for 1/2 hour till it got into working temperature. I need to check the new Tach as it is a diferent model from the original and the wire harness does not plug into the existing wires. My harness has 2 wires and the new tach has 4 wires. I know the blue one is the light wire. I will have top see about the other ones.